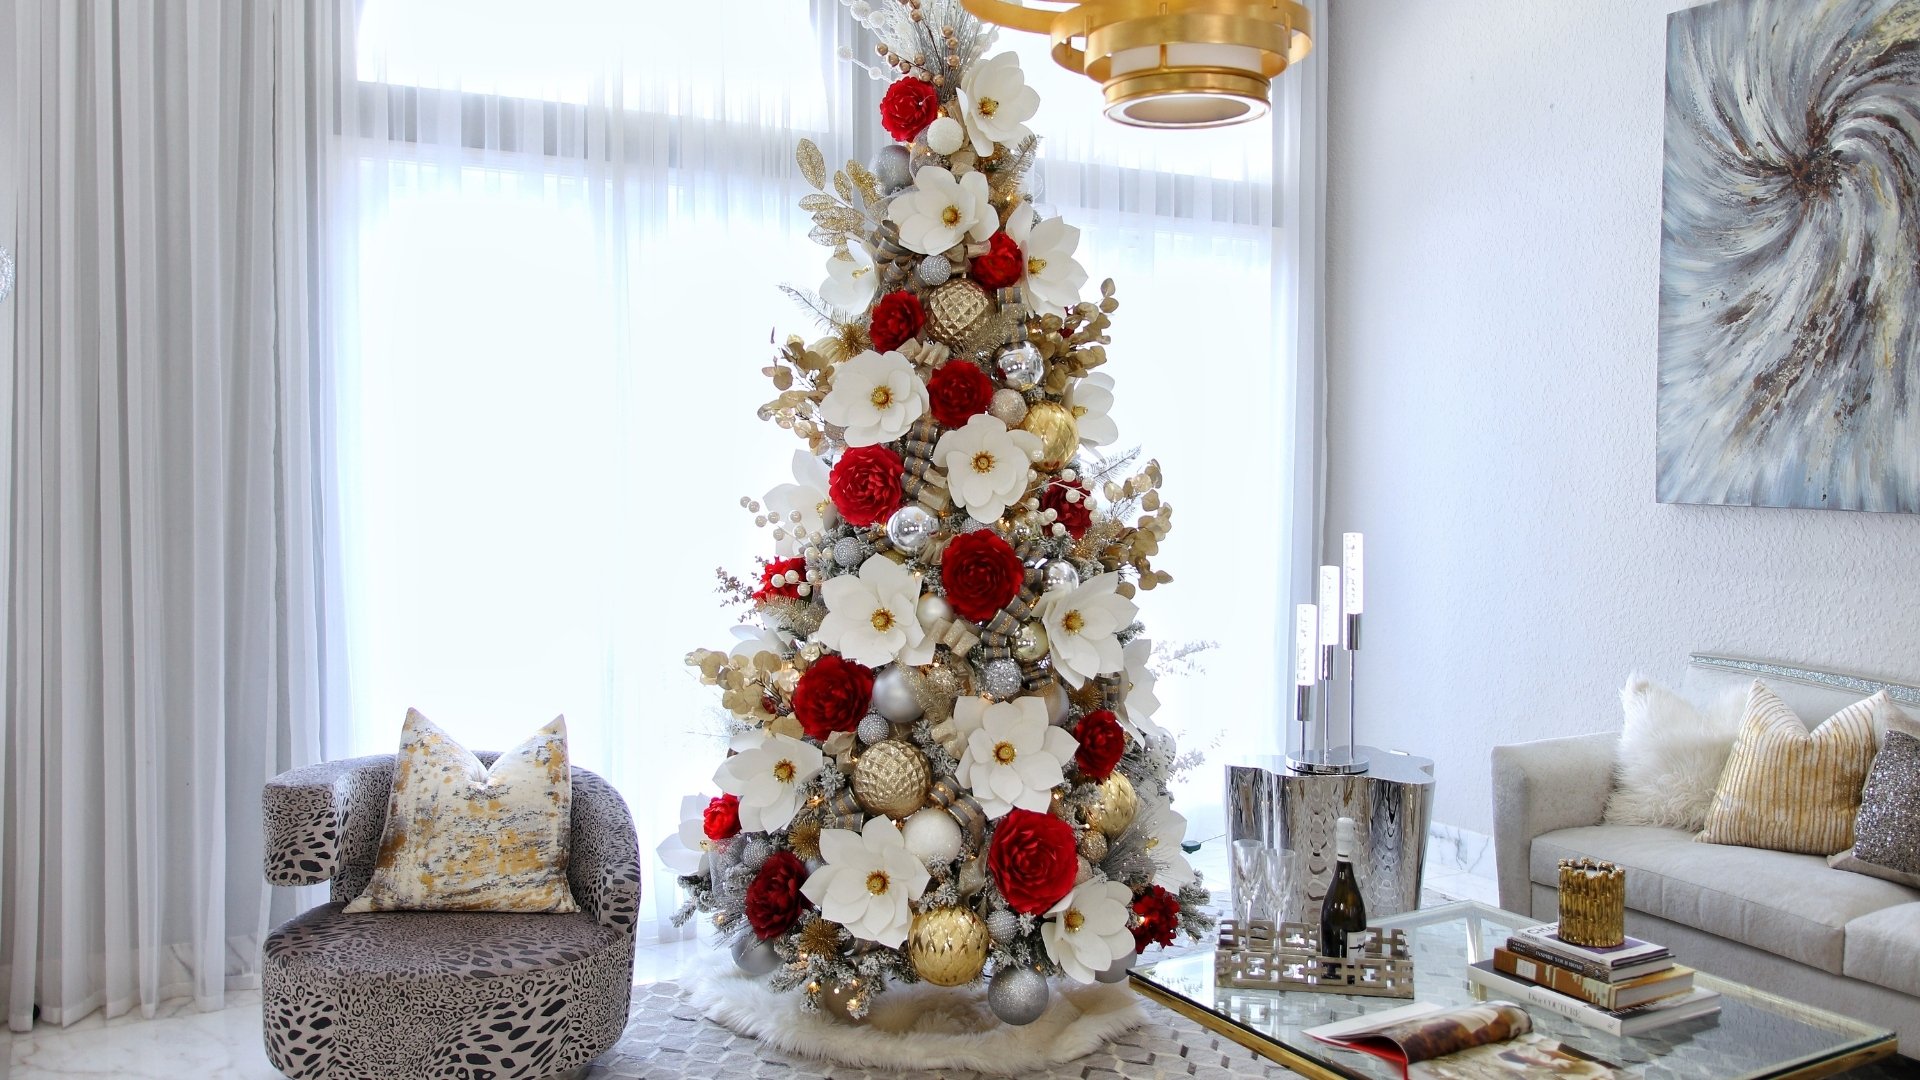
Have you noticed that it’s very trendy nowadays to use flowers for decorating Christmas trees?
My Instagram feed is full of trees with flowers. And when I go Christmas shopping, I see a wide variety of adorable floral decorations.
But since I’m a paper flower artist, of course, I wanted to make my own flowers and decorate the tree with them.
So this year we’ve teamed up with my bestie (her name is Marina, she’s an interior stylist) and decided to decorate her gorgeous 9ft flocked Christmas tree together.
How to decorate a Christmas tree with paper flowers
Especially for our project, I designed a new Magnolia flower, that really became a hit! (both in my shop and on my Instagram).
And if you also want to decorate your Christmas tree, house, or party with these large and fluffy magnolias, you can easily make them yourself too! Moreover, these flowers are very budget-friendly, especially compared to those sold in stores. But psssst….., as they look like a million!

Ok, let’s see the whole process of how we decorated the Christmas tree with these giant paper flowers.
First it’s really important to work through each branch and separate all the tips, because if you don’t do so, there will be holes and gaps and the tree will not look as full and appealing as it should.
Especially if your tree, like ours, stands in front of windows, be sure that the backlit will highlight all the holes and gaps and will make them very visible.
So my advise is to install each next section of the tree only after you have already worked through the previous one, moving from the lowest part to the highest. If you do so, most likely you won’t miss anything and your tree will be as fluffy as possible.
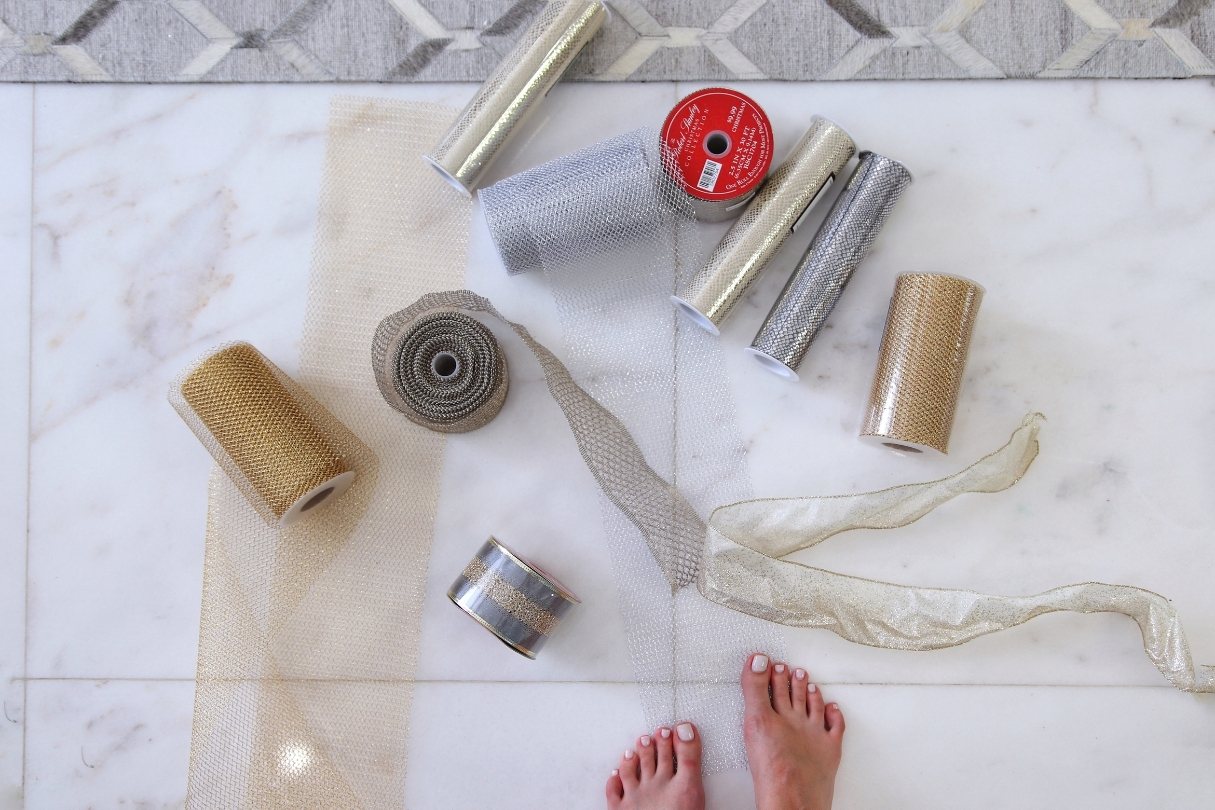
Our first decor elements were ribbons. And to be more specific, we started with the Christmas mesh. Basically, this mesh is used pretty much like a ribbon, it’s just wider and airier, which definitely adds texture and volume.
So we used 2 meshes – silver and gold, and after that, we added a ribbon to the center of the tree.
And guys, if you haven’t already, please pay your close attention to the ribbons! Because this is pretty affordable decor that can instantly transform your tree look and make it much more stylish, rich and lush.
And besides that, your ribbon decor will always look very original, and no one will have the same one for sure.
Because by making different shapes and forms from ribbons, you will always get a unique decor. For example, you can make different ribbon combinations, or make some original bows, or beautiful swirls or use the ribbon as a garland.
Btw, I saw some Christmas trees that were decorated only with ribbons, and they looked pretty impressive.
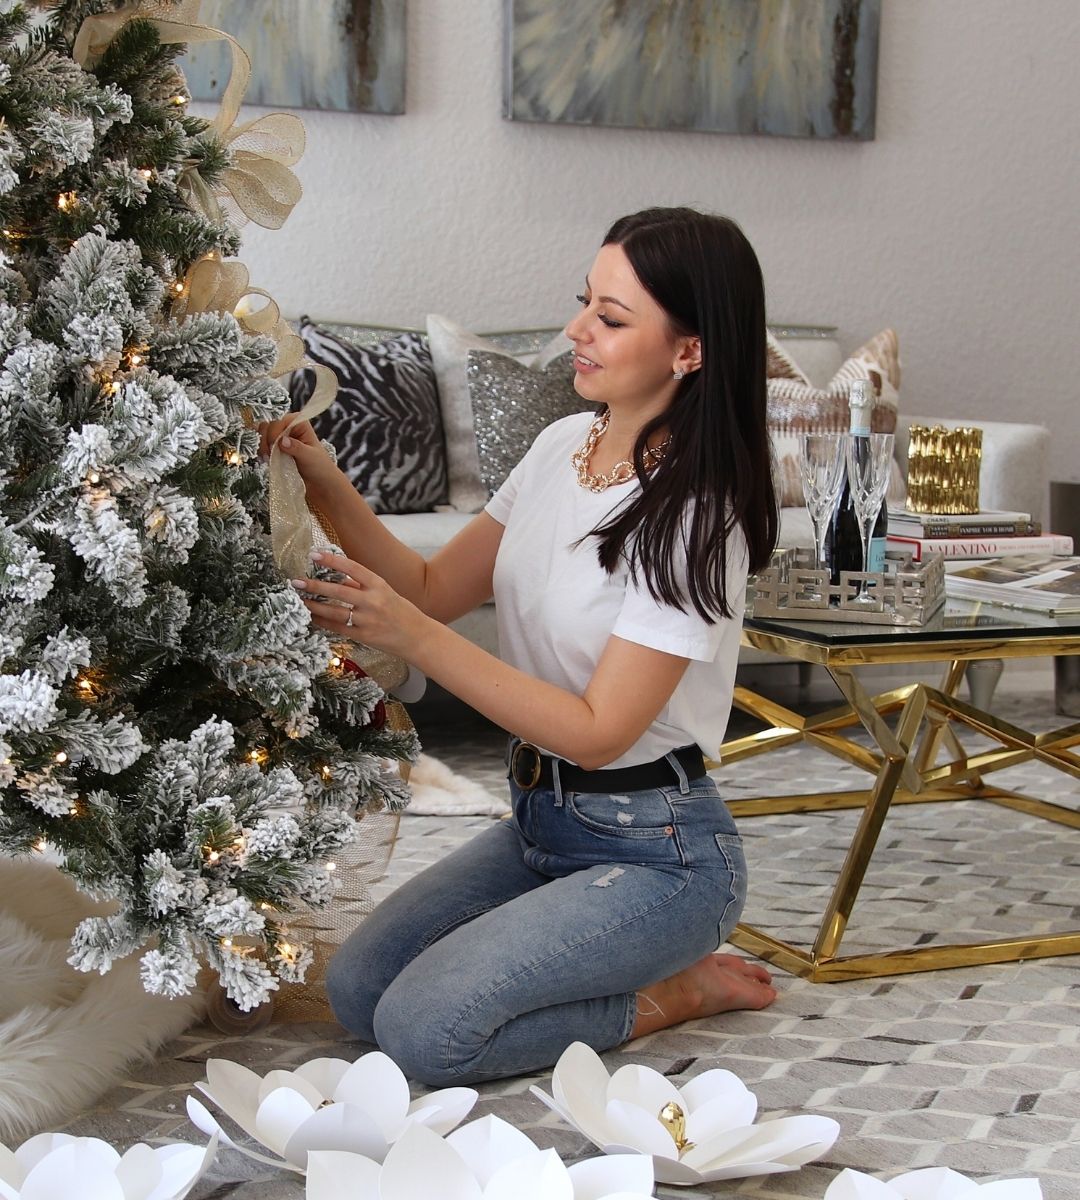
But going back to our tree, we didn’t use a lot of ribbons here, because we knew that the main decoration would be large flowers, and we didn’t want to draw away attention from them, so we did our ribbons very lightly.
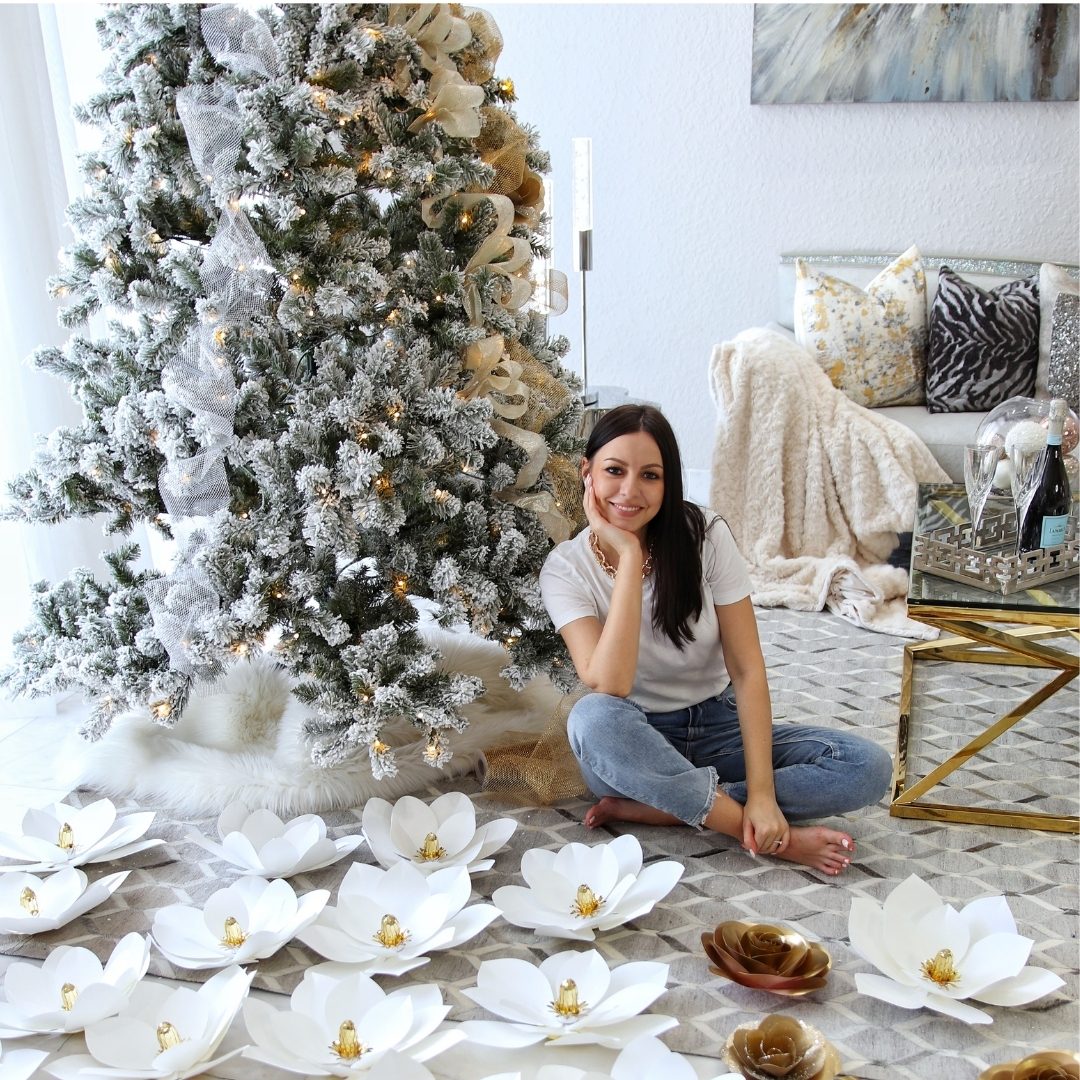
In total, I made 20 magnolias, which we needed to evenly place throughout the tree. So we started from the top, moving down the spiral.
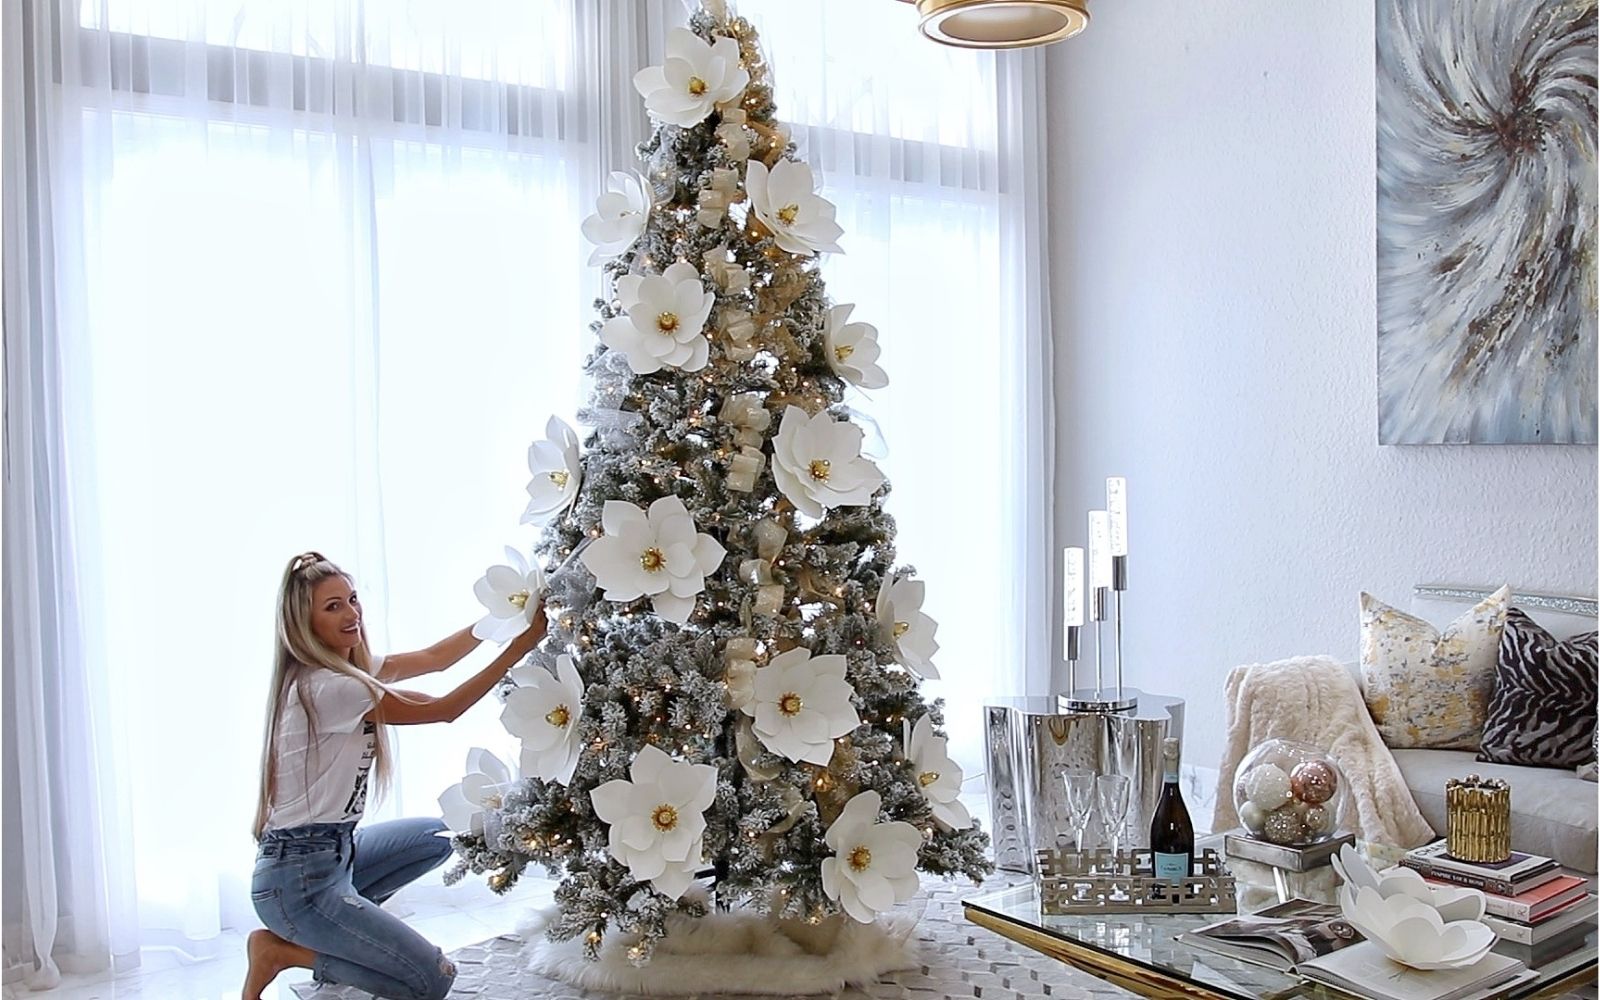
After we hung up all the flowers, we started placing the largest ornaments.
Marina accidentally found and bought these giant ornaments at Home Depot. And we were actually very happy to have them! Because after I was looking for these balls, I could not find them anywhere online. But I found some similar ornaments for you, guys, here and here.
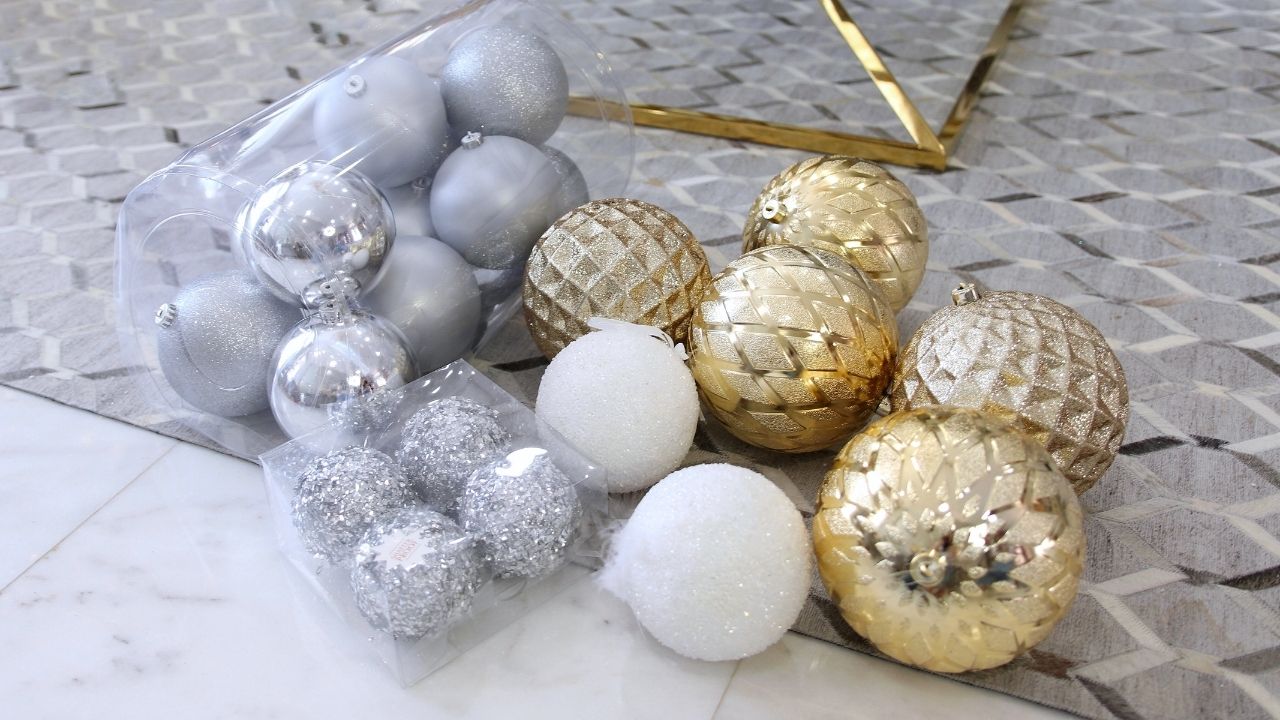
I think that large decor always looks more impressive. And I personally find it better to invest in a few large pieces than many smaller ones.
And it looks better when you place the ornaments deep into the tree. Don’t place them only outside of the tree, because you want to create a dimensional look.
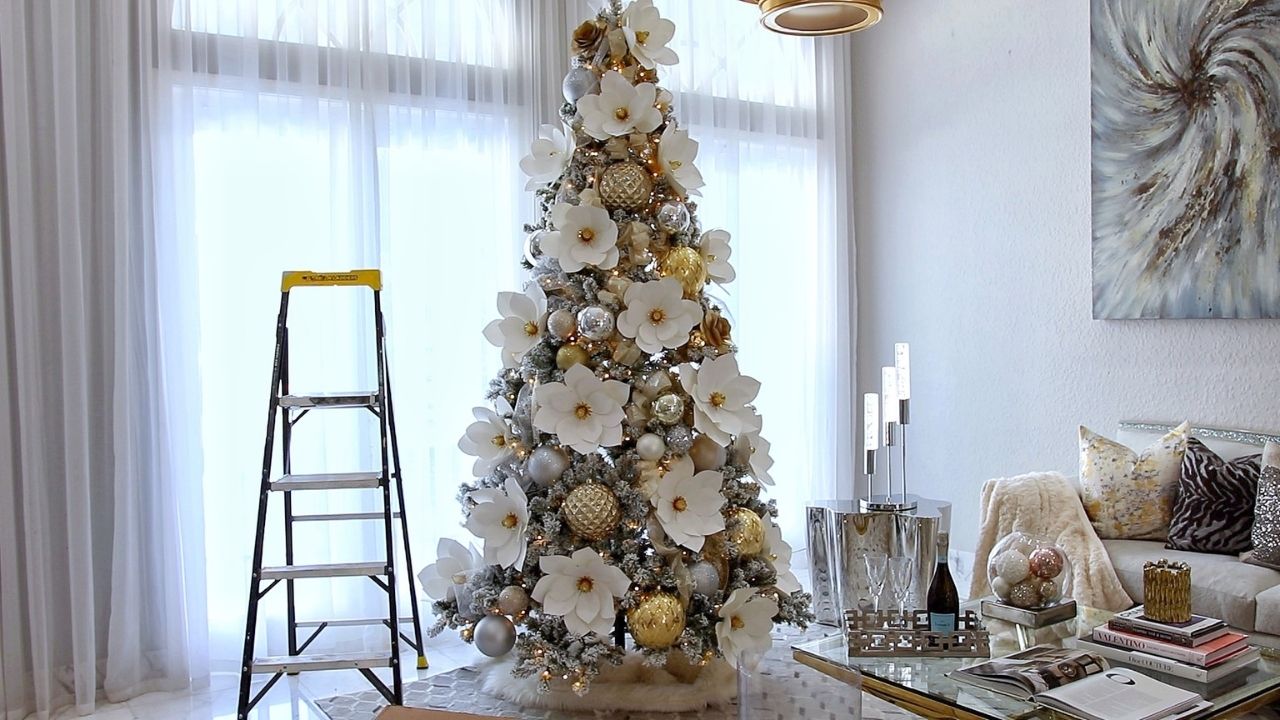

Then we decorated the tree topper using different types of white, silver, and gold picks, just to combine all the colors together.
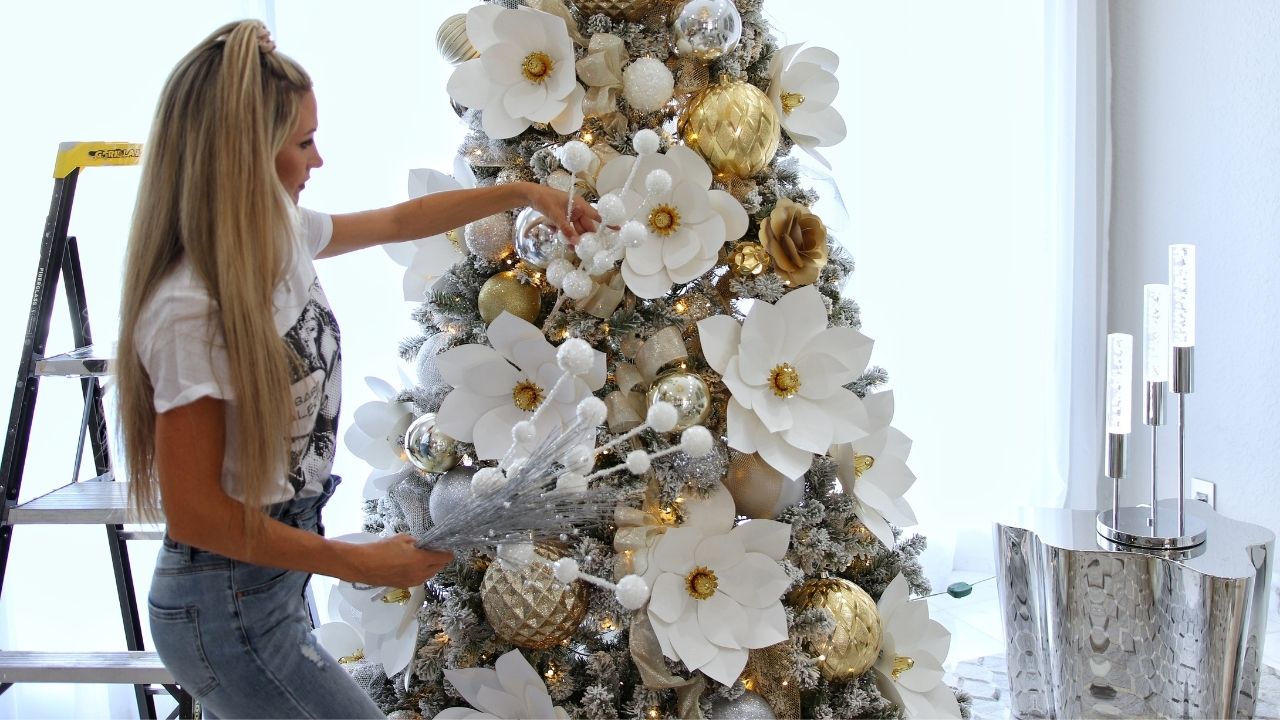
And after that, we started adding everything else, like glitter feathers, small decorations, and picks, to complete the look and make our tree look even more lush.
And I really advise you, guys, to use many different picks, because they add a beautiful fluffiness and volume to your tree.
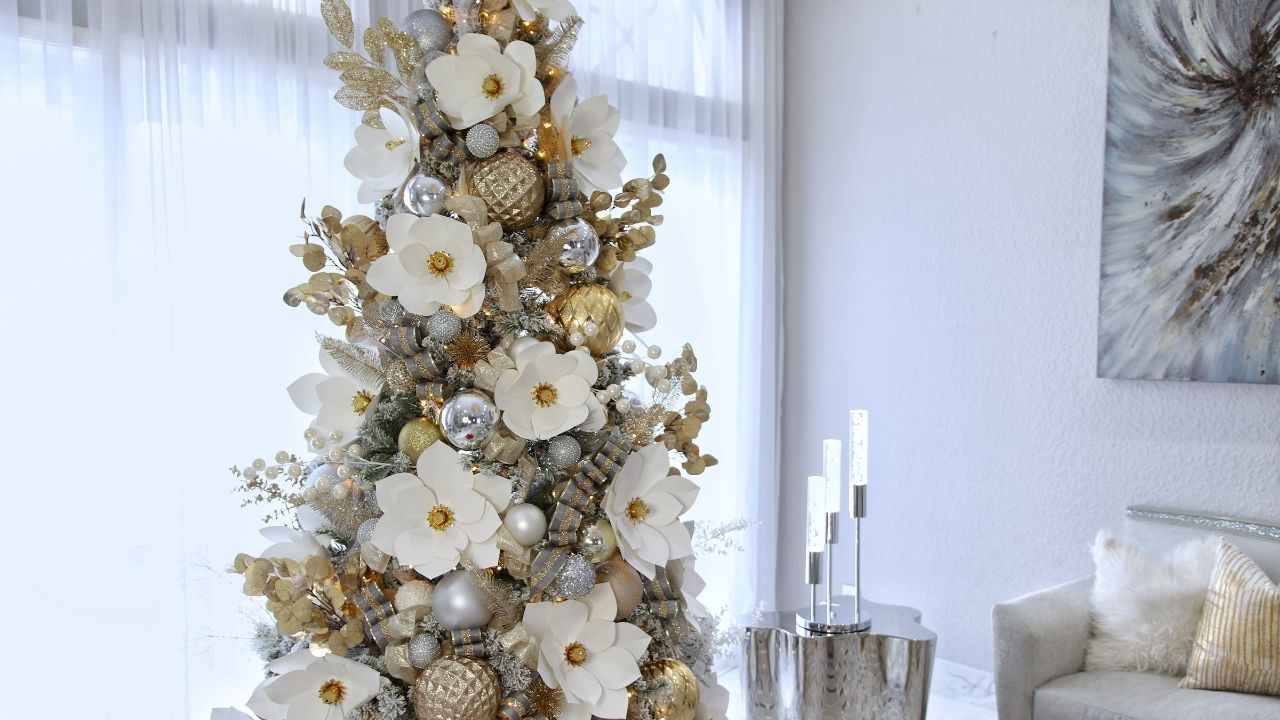
And here we decided to finish decorating, and that day I went home.
Look, the original idea of our tree decor was to use gold, silver and white colors.
Marina loves the combination of different metals in her modern interiors, so our plan was just that.
But the next day we talked on the phone and decided to step away from the plan.
We wanted to add a pop of color, so we decided to have two versions of the tree, one modern and one modern with a traditional touch.
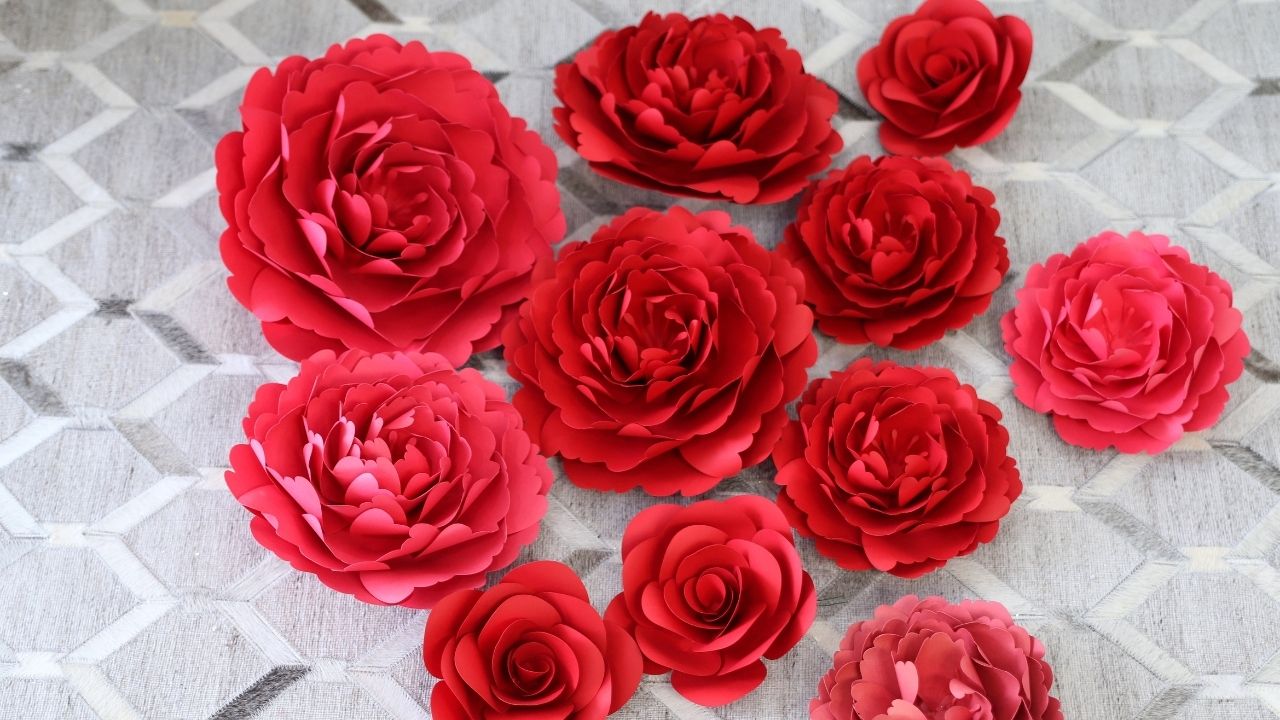
So I brought these red paper peonies, which looked very festive and fluffy, and they complemented our white magnolias perfectly.
And here we’re placing the peonies evenly throughout the tree.
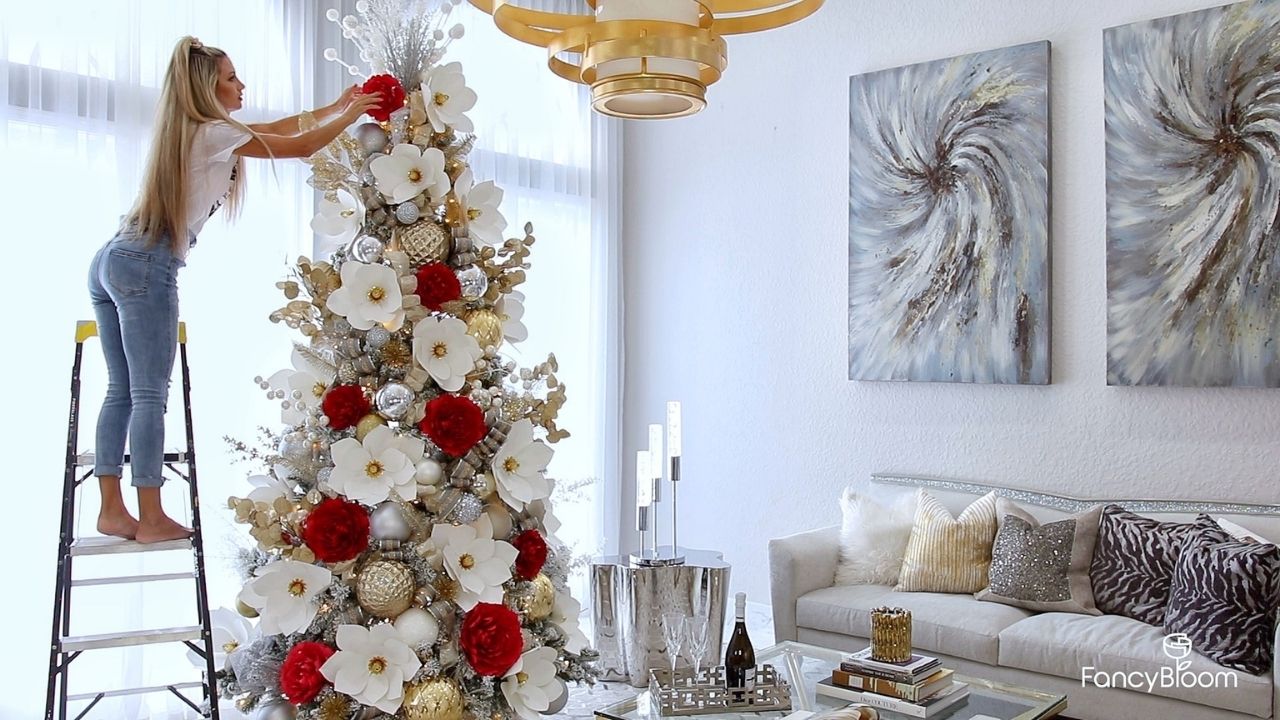
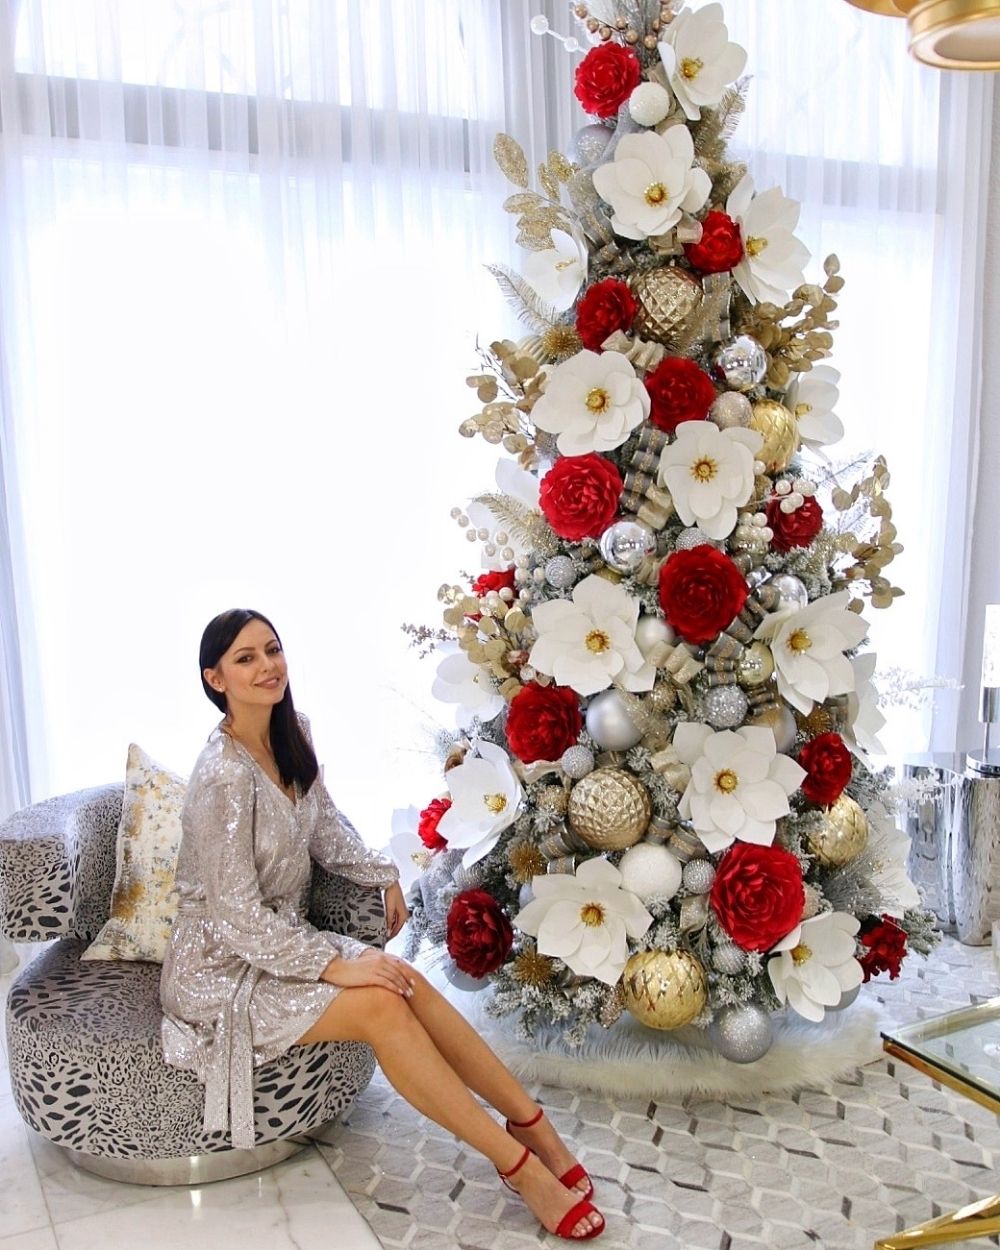
Our tree turned out to be quite busy. Because I made pretty large flowers (I mean, compared to regular Christmas tree decorations), and we also used oversized ornaments and in general a lot of decor.
So we got a very impressive tree that definitely makes a statement!
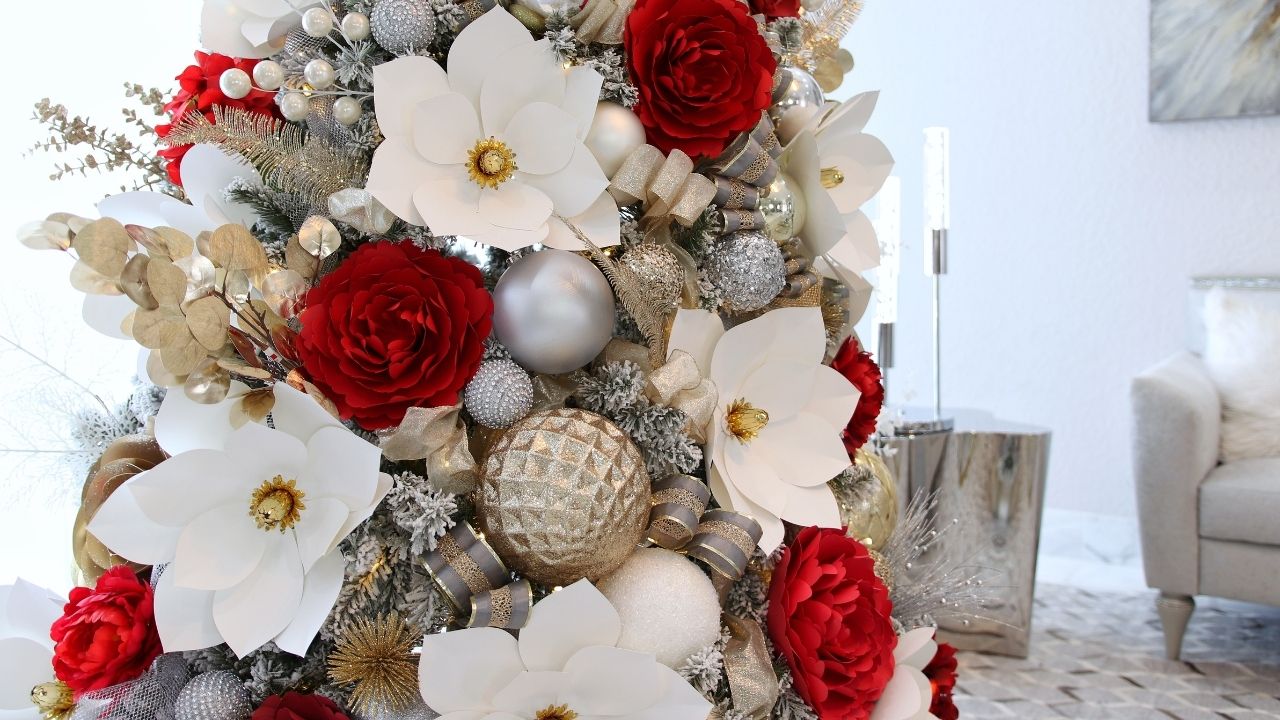
Of course, this is not a traditional style Christmas tree, but I would say a designer and modern tree.
But that’s definitely what we wanted to do this year!
We had such a great time together, and these two days filled us with a festive mood. So I hope you guys have just as much fun decorating your own trees!
Disclaimer: product links may include affiliate links.

I’m Oksana and I love paper flowers and all things paper. Here at FancyBloom I design new flower templates, make paper flower tutorials, and share my ideas and inspiration for fancy and modern craft.
2 Responses
Great job
Thank you Elise!💖