This site contains affiliate links, view the disclosure for more information
One of the most common questions I get asked almost every day is how to hang paper flowers on the wall, and I understand why! Once you’ve made all the beautiful flowers that I teach you to create, you obviously want to securely hang them without damaging your wall.
“Not damage the wall” is the key phrase here because flowers can be hung, for example, on nails. But who needs extra holes in the wall? That’s right, nobody does!
There are many different ways to attach flowers to the wall, more than I can cover in this post. But I want to teach you how I personally do it and show you my favorite methods.
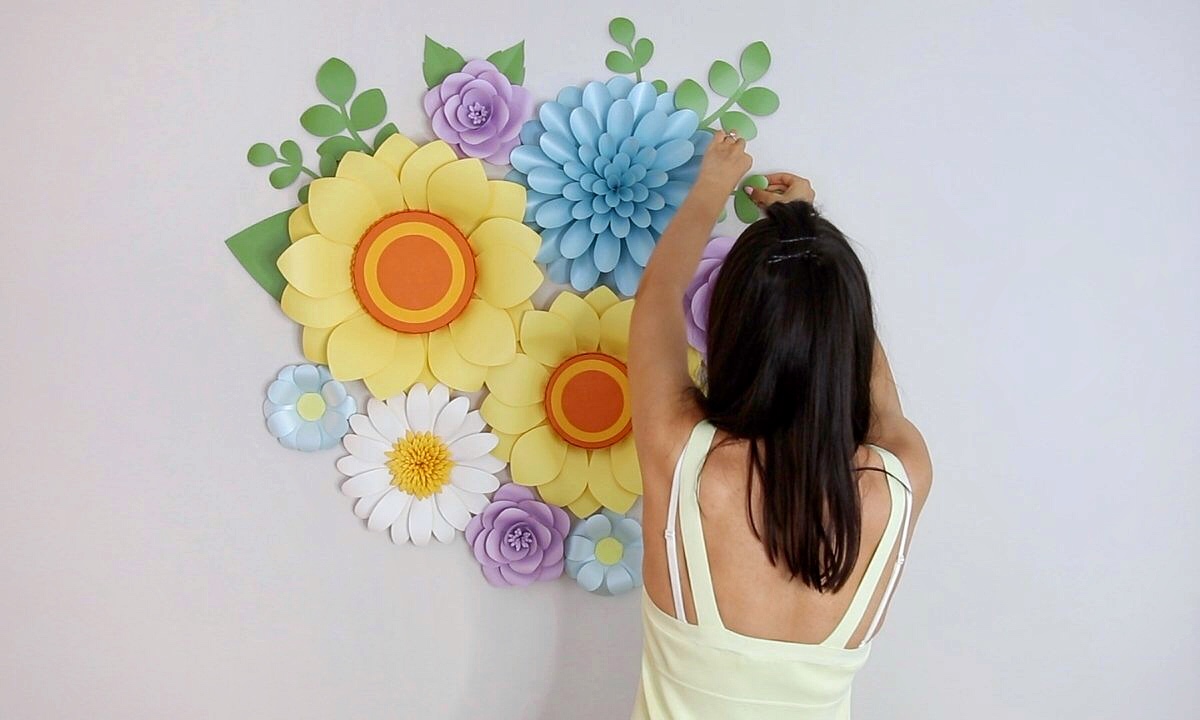
I’ll show you how I hang my new summer paper flower set, which includes flowers of various weights and sizes, using different methods for each.
I always begin with the largest flowers.
In this set, the two largest flowers are sunflowers. One is larger, and the other one is slightly smaller.
 1")
For large and heavy flowers, I always use Command hooks. They come in various sizes, but most of the time I use the small hooks called decorating or mini light clips.
And there are also larger hooks that can hold more weight.
 2")
Sources: 1. Command indoor mini light clips 2. Command clear hooks
 3")
Look, my signature sunflowers are not heavy because I designed the center to be light and not bulky. So despite their large size, they are quite light, and I can use a small hook for them.
But let’s pretend this flower is heavier. For example, if I made a heavy center or used more petals and more paper, I would need to make sure it holds firmly on the wall. In that case, I would certainly use a large hook.
Create beautiful sunflowers easily with my Giant Paper Sunflower Template! It includes templates for two flower sizes and a leaf.
The design features a lightweight center, making it quick and simple to make without any bulky or heavy parts.
 4")
I’ve already added an eyelet to the base of the flower. You can make this eyelet from paper, ribbon, rope (like I did), or even wire – what it’s made of isn’t crucial, just use whatever works best for you.
But what does matter is that the loop isn’t too big. It should be snug so the flower doesn’t dangle or tilt forward but stays flush against the wall. We want the flower to hang perfectly straight and not lean forward. So this small but important detail is worth checking ahead of time.
 5")
First, I always position the flower where I want to attach it to see where the hook should go, and then I glue the hook in place.
My second sunflower is a bit smaller, so I’ll hang it on a small hook.
The third large flower in my set is a fluffy blue chrysanthemum. It’s also lightweight because it’s made from very thin paper, so I’ll use a small hook for it as well.
 6")
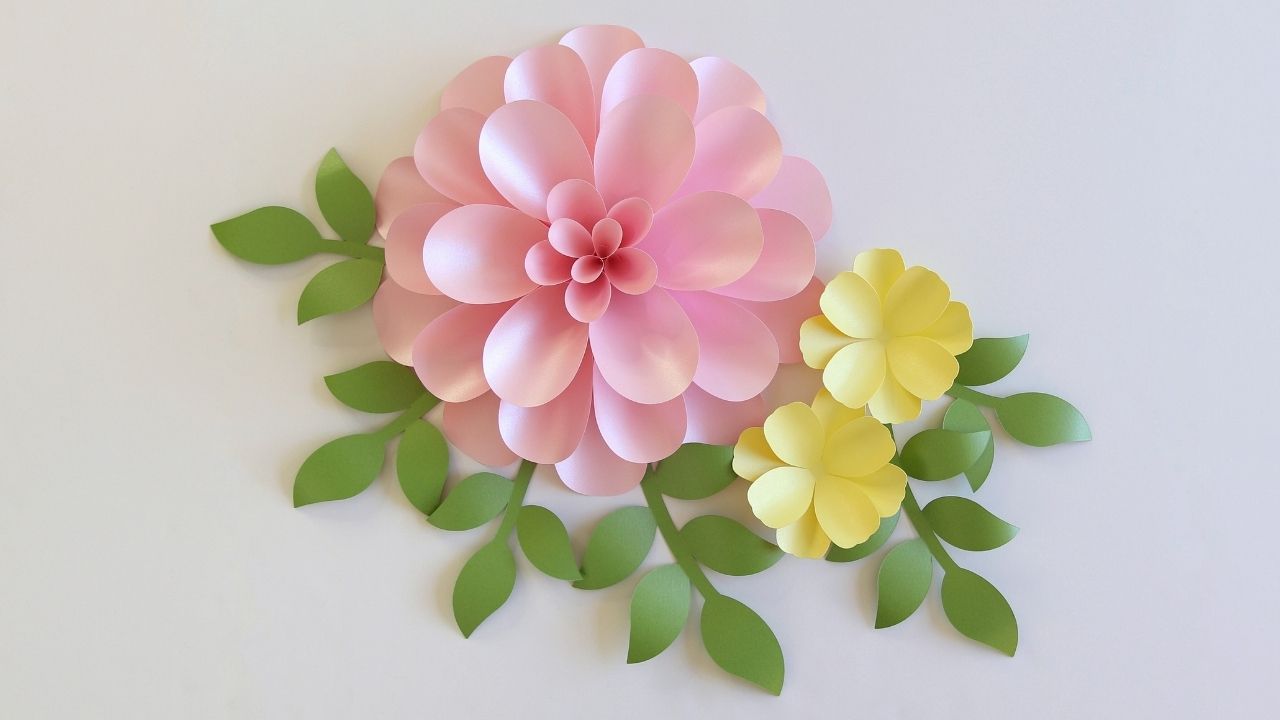
Once I’ve hung the largest flowers, I move on to the smaller ones. And next up is this cute daisy.
I could use a hook, but since it’s already quite light, I prefer using a different method.
 7")
So, for medium and small lightweight flowers, I use magnets and sticky tack.
 8")
Sources: 1. Ceramic industrial magnets 2. Small neodymium magnets 3. Fun-tak mounting putty tabs
While hooks have their advantages, magnets are more convenient.
If you place a hook in the wrong place, you’ll need to remove it and use a new hook or adhesive strip, which doesn’t allow for much flexibility. But with magnets and sticky tack, you can easily move them around, making them super convenient.
 9")
There are generally two types of magnets: ceramic (ferrite) and neodymium.
Neodymium magnets are very strong – stronger than ferrite magnets – but they are often smaller in size, meaning their surface area is also smaller.
And the surface area is very important because we attach the magnets to the wall with sticky tack. So no matter how strong the magnets are, if the sticky tack can’t hold the weight, the flower won’t stay put. I hope that makes sense.
Of course, you can use neodymium magnets as well; they are capable of holding heavier flowers, but then you’ll need a stronger adhesive than sticky tack.
I usually opt for ferrite magnets because they are a little more affordable and have a larger surface area.
 10")
To attach my daisy, I start by gluing a magnet to its base with hot glue. Then I position the flower where I want to attach it and find the best spot for the magnet.
Next, I find which side of the magnet will go on the wall and which side will connect to the flower. Once that’s set, I secure the magnet firmly to the wall with sticky tack.
If I need to adjust the position or move the flower, it’s quick and easy to do. That’s why magnets are my favorite!
 11")
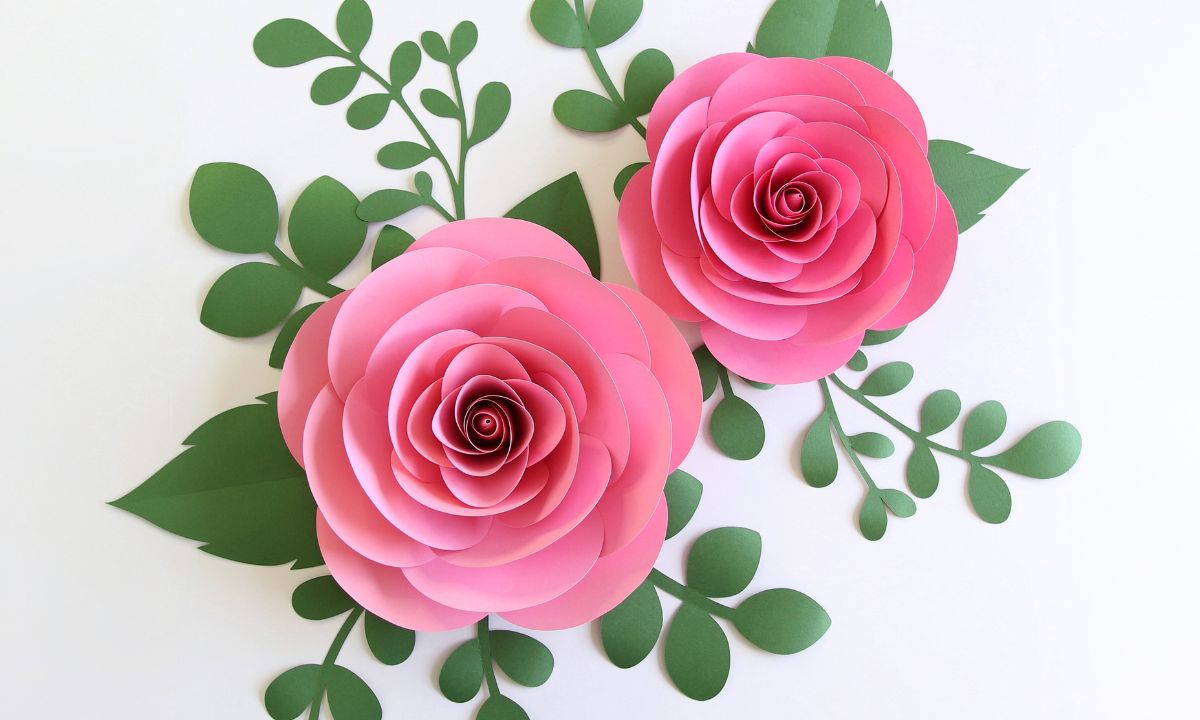
My next flowers are three garden roses – one large and two a bit smaller. I’ll also attach them using magnets.
 12")
The last flowers I need to attach are the little blue daisies.
For these light and tiny flowers, sticky tack alone works great and will hold them firmly in place.
 13")
However, keep in mind that my daisies have a flat center, which allows me to press them down and stick the tack securely to the wall. If the flowers have a full and fluffy center, you won’t be able to press them down, which can make it difficult to attach the sticky tack properly to the wall (and you might damage the flower).
In such cases, I use tiny neodymium magnets. They are very small and compact, so it’s a very convenient option.
 14")
Source: Thin neodymium magnets
 15")
Once all the flowers are in place, it’s time to attach the leaves. This part is quite simple – you’ll just need sticky tack.
 16")
It doesn’t really matter what type of sticky tack you use; they’re all quite similar.
I usually buy in bulk to get a better deal. The only thing to watch for is that the sticky tack isn’t too soft, or it won’t hold well.
 17")
To attach the leaves, I use small pieces of sticky tack – just a few small blobs for each branch.
I only attach them by the stem, so the leaves hang freely and create a more natural, 3D effect, rather than being pressed flat against the wall. I prefer this look for a more realistic and dimensional appearance.
 18")
My set is ready!
I’ve spilled all my secrets, tips, and tricks on how to hang paper flowers. Hope you found it helpful – and hey, if it saves you from a few extra holes in the wall, I’d call that a win :-)!
If you’d like to recreate this set, you can use my free and paid paper flower templates:
 20")
 21")
 22")
Sources: 1. (Yellow) Citrus Cardstock Paper by Recollections 2. (Green) Fairway Green Stardream Metallic 3. (Orange) Flame Stardream Metallic 4. (White) White Cardstock Paper by Recollections 5. (Lilac) Grapesicle French Paper POPTONE 6. (Blue) Seaside Cardstock Paper by Recollections (similar)
I hope you found these tips helpful!
If you have any questions or want to share something, please leave a comment below👇. I’d love to hear from you!
Happy crafting xoxo
 23")
I’m Oksana and I love paper flowers and all things paper. Here at FancyBloom I design new flower templates, make paper flower tutorials, and share my ideas and inspiration for fancy and modern craft.