This site contains affiliate links, view the disclosure for more information
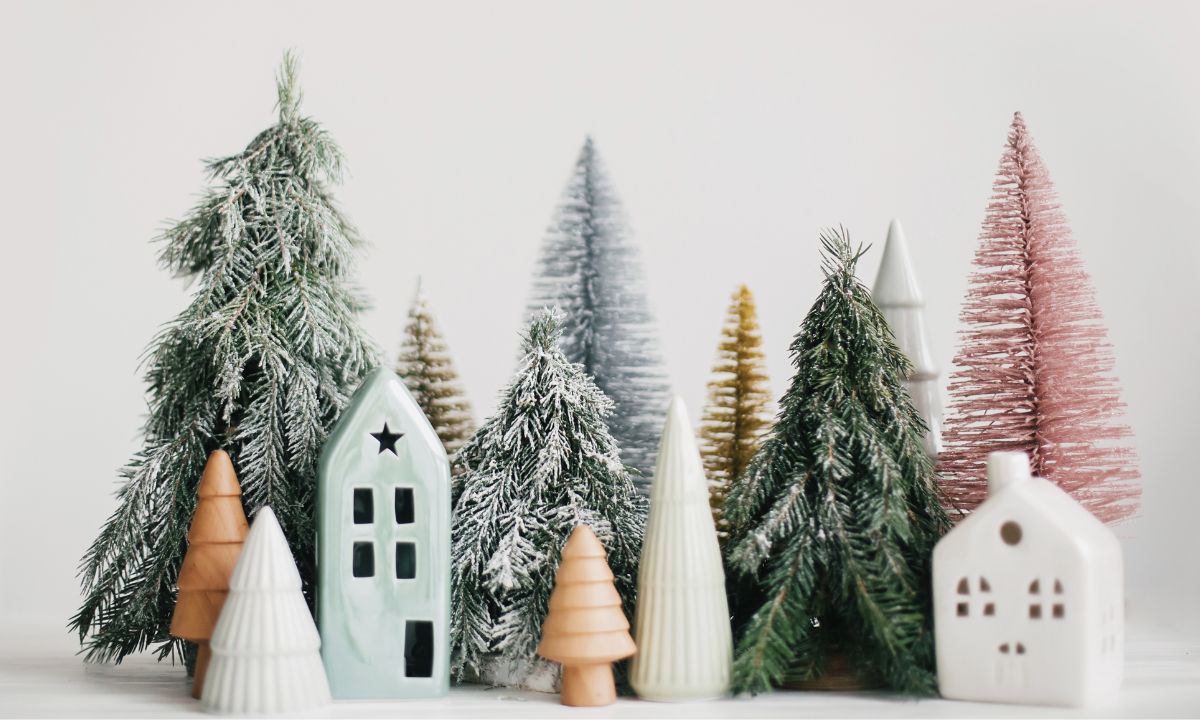
Palm leaves have become super popular for use in interior decor, especially in the last few years. People make arrangements and bouquets from real palm leaves, dried, faux palm leaves, and they look very beautiful, especially in all kinds of coastal interiors, Mediterranean, boho interiors.
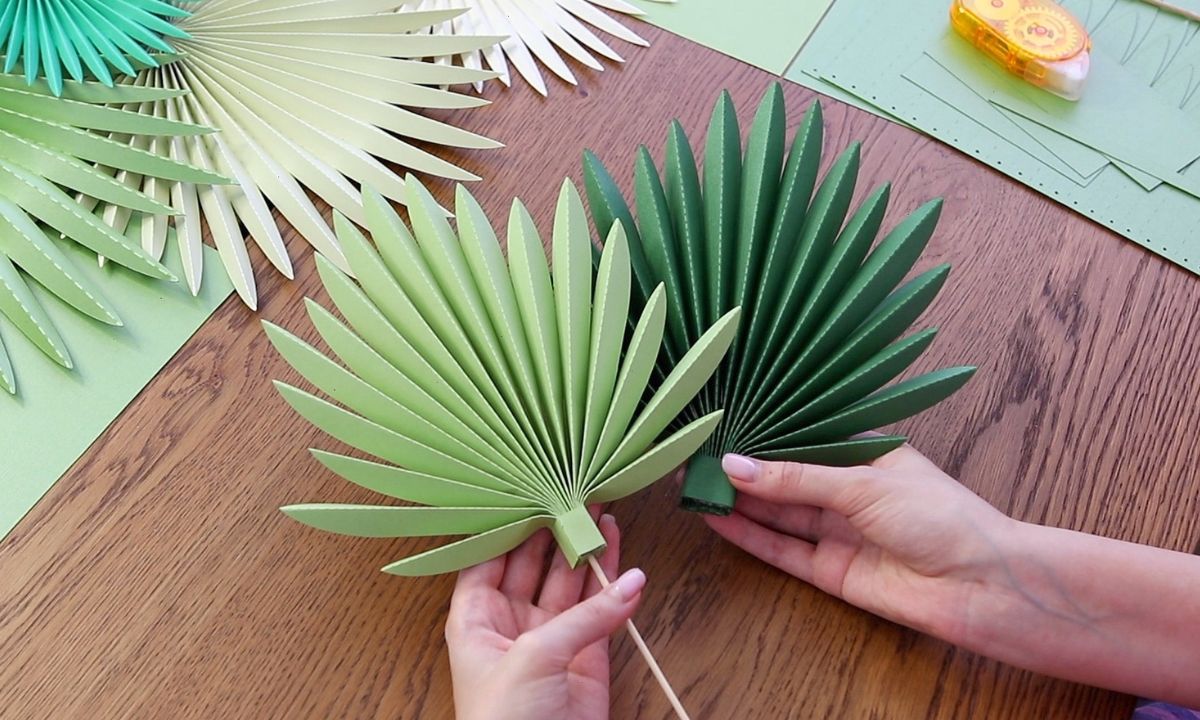
And I like them too! I love their tropical look, so I figured out how to make them out of my favorite material – paper, and here I want to show you how to make paper palm leaves very easy step by step.
I know you guys love my freebies so I did it again for you, and here you can download this palm leaf template free:
If you’re ready to level up your game then check out my other palm leaf template to make palm leaves that look just like real ones!
 - FancyBloom 2")
This template was created by drawing from a real fan palm leaf to make it look extremely realistic, along with a flexible and natural looking palm leaf stem that I designed specifically for this leaf. So it’s all about the little details that make this template so awesome and unique ;-)!
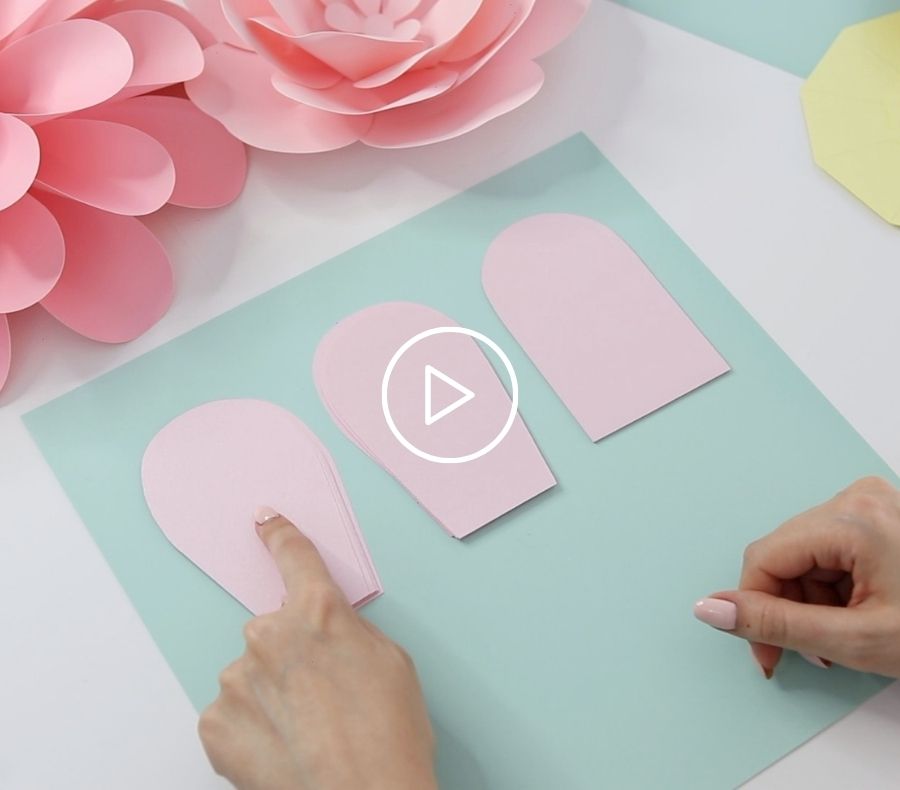
This template comes in 2 parts, so you only need two regular size sheets of paper (8.5″ x 11″) to make one leaf.
 - FancyBloom 3")
Sources: 1. Forest cardstock paper 2. Dark green cardstock 3. Fairway green metallic cardstock
 - FancyBloom 4")
As usual I cut everything with the help of my cutting machine, but if you don’t have one, there are always PDF files in the templates folder that you can print out and then cut them by hand.
When designing templates, I always think about the smallest details, so for your convenience, guys, I have added all the fold and scoring lines.
 - FancyBloom 5")
And this is another advantage of using a cutting machine, because it basically does all the work for you (marking all the lines), so you just have to assemble it later.
But if you cut by hand, of course, you will have to do all the fold lines yourself.
 - FancyBloom 6")
You can use a scoring board if you have it, or you can just do all the markings with a ruler and something similar to a scoring tool. It can be a dull knife or an empty pen without ink, whatever you have on hand will work.
 - FancyBloom 7")
But even if I have all the scoring lines made by my cutting machine, I also help myself with a ruler to fold everything nicely and evenly.
And I got 2 accordions like this:
 - FancyBloom 8")
Now we need to glue the two pieces together.
I advise you to use some kind of craft glue instead of using hot glue for this. Because, first of all, hot glue sets super quickly and you won’t have enough time to align and even out the place of gluing.
And secondly, after hardening, hot glue has volume, so this place anyway will be kind of visible, while craft glue after drying has no volume at all and will be completely invisible.
 - FancyBloom 9")
I carefully glue the two parts together and align them so that the gluing place is not noticeable at all.
 - FancyBloom 10")
Sources: 1. Scoring board 2. Paper wrapped stem wire 3. Hole puncher tool
If you’re making these leaves for, let’s say, a wall arrangement, for example along with paper flowers, then all that remains is to gather and glue the leaf at the bottom.
But if you want to put it in a vase, let’s make a very simple stem first.
 - FancyBloom 11")
I use a regular bamboo skewer, which I glue with the sharp end on about 1.5 inches right down the center of the leaf.
 - FancyBloom 12")
Please note that it ‘s very important to find and glue the stem exactly to the center crease. Because if you make a mistake and glue the stem at least one fold to the right or left, your leaf will simply not stand straight in the vase, it will always spin to one side. And since you can’t bend the bamboo skewer, you will not be able to place the leaf in the vase the way you want.
I hope this makes sense because I already made this mistake once before 😤.
For the same reason, I try to glue the skewer exactly in the middle between the folds so that there will be no overbalance either back or forth.
 - FancyBloom 13")
 - FancyBloom 14")
Alright, the stem is ready, and now it’s only left to gather and glue the bottom part.
For your convenience I’ve also included the base wrapping strip in the templates, but it’s obviously very easy to cut by hand. The strip measures about 4″ wide and just under 1″ high.
 - FancyBloom 15")
Look, you can glue this strip right away, but for me it’s just more convenient to fix the base first with glue.
 - FancyBloom 16")
And then I already wrap and hot glue the strip very well.
If you have any excess you can carefully cut it off with a scissors or craft knife.
 - FancyBloom 17")
And finally we can open and fluff it up!
I try to spread the whole leaf as much as I can, and I also open each individual fold very well to give it a nice and beautiful shape.
 - FancyBloom 18")
And here is the lovely palm leaf that I got
 - FancyBloom 19")
It’s good that it can be made from any paper of any thickness.
For example, for this light green leaf I used regular cardstock paper weighing 175 gsm. But the dark green leaf I made from very thick paper weight 300 gsm.
So if you have a beautiful colored paper that you really want to use, but it’s thick, don’t be afraid to use it for making these leaves. Yes, it will be a little more difficult to work with and the base of the leaf will be much thicker, but you still will be able to do it.
 - FancyBloom 21")
Also please note that the scoring lines are more visible on dark paper (if the cutting machine has done them for you). So if they really bother you, just choose a lighter colored paper or, as an option, remove them from the template before cutting on your machine.
This is also why I don’t recommend using paper that is white on the inside, because it will look very weird. You can easily run into this kind of paper on Amazon or Michaels, so be careful and don’t buy the wrong stuff.
And once again I leave the link to the free templates here:
Don’t forget to share your works with me by tagging @fancybloom_ on Instagram or by emailing me. And let’s chat in the comments🌴👇!
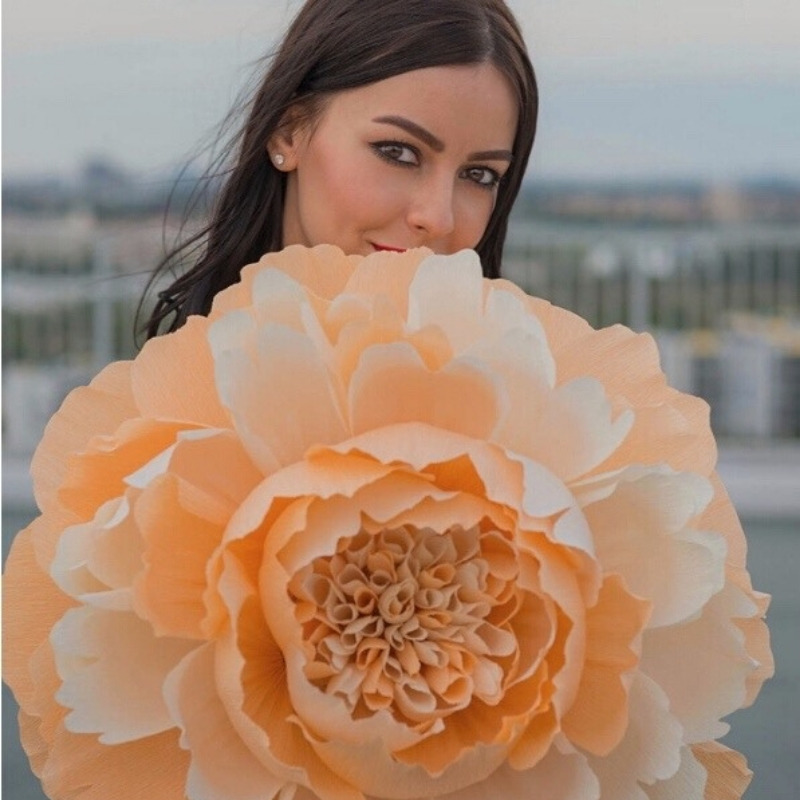
I’m Oksana and I love paper flowers and all things paper. Here at FancyBloom I design new flower templates, make paper flower tutorials, and share my ideas and inspiration for fancy and modern craft.
Now check your inbox to get an email with the freebie inside.
I can’t wait for you to dive in!
If your email doesn’t arrive in a few minutes, don’t worry. Be sure to check the spam folder and promotions tab.
If you believe there’s a problem, write to [email protected] and I will take care of you as quickly as possible.
2 Responses
I can’t download the palm leaf templates. I keep getting an error message. If the template is no longer free can you tell me where to purchase it?
Thank you,
Terri
Dear Oksana,
I need this palm leaf templates