This site contains affiliate links, view the disclosure for more information
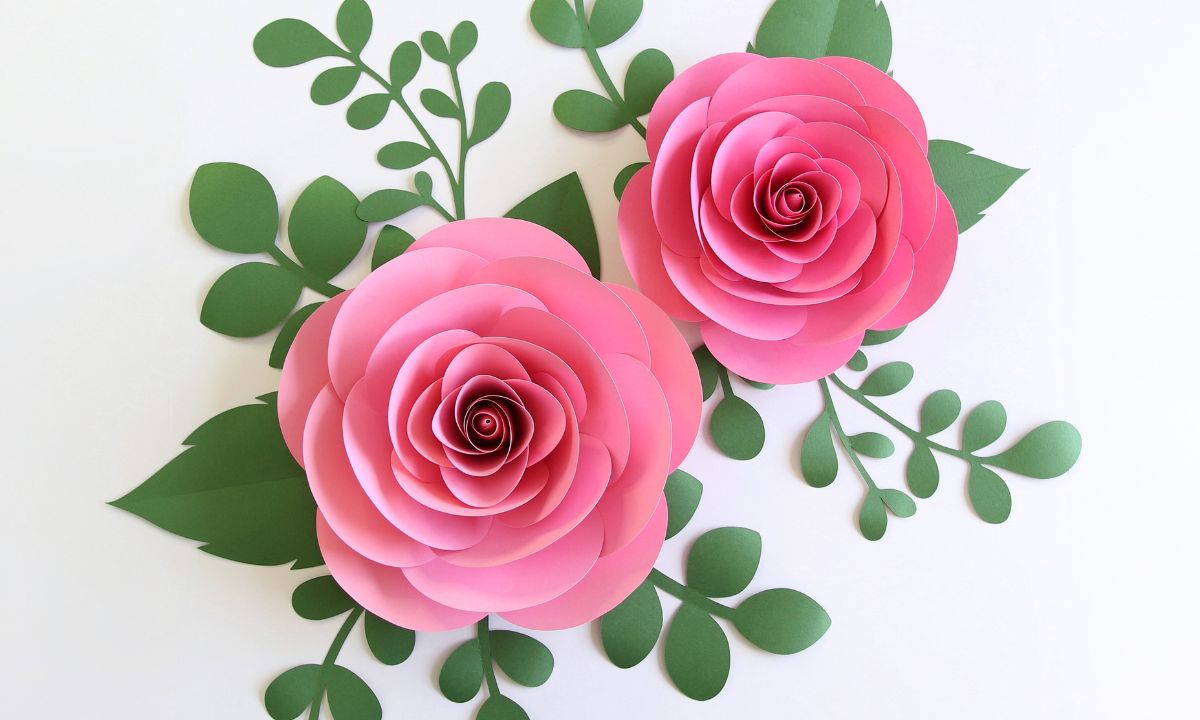
In this blog post I would like to show you how to make a simple rose flower using the basic technique.
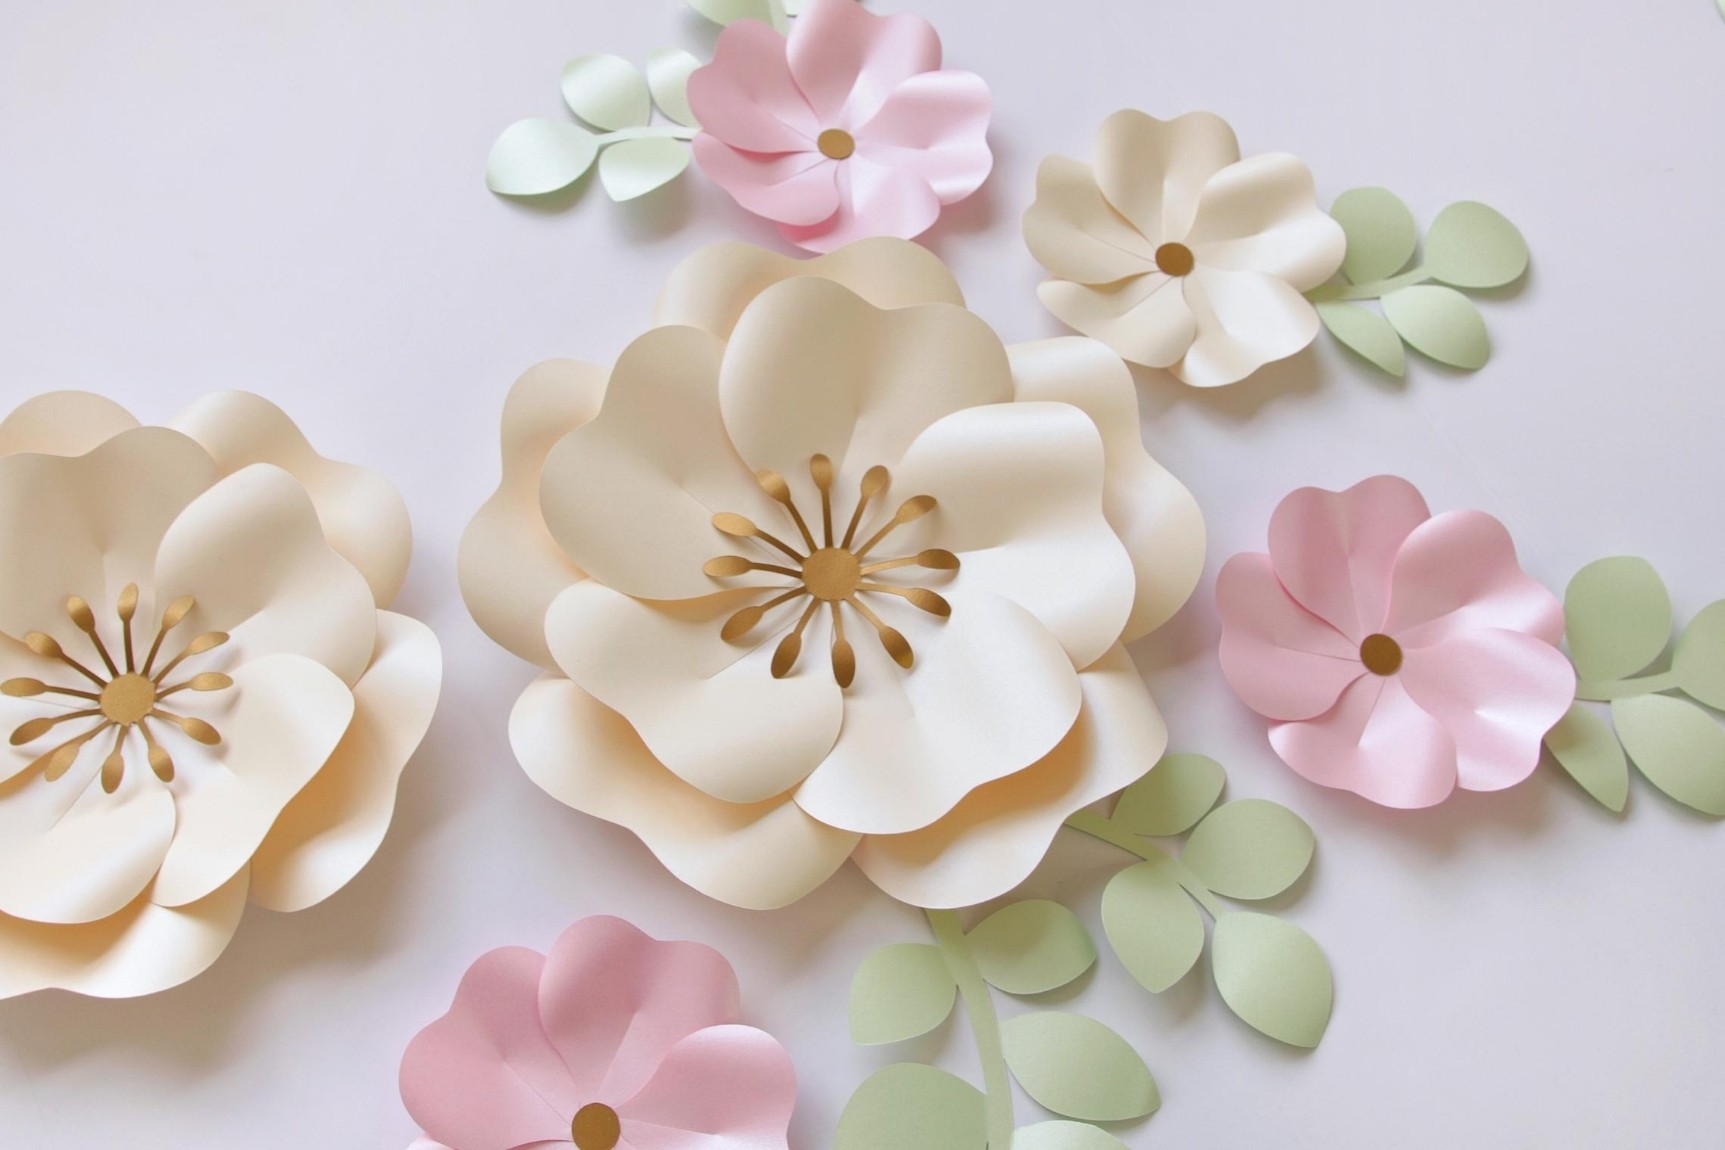
But a simple flower doesn’t mean that the flower is not beautiful enough. Despite the plain shapes of the petals, all sizes and proportions are ideally selected by me so that the rose looks harmonious and lush.
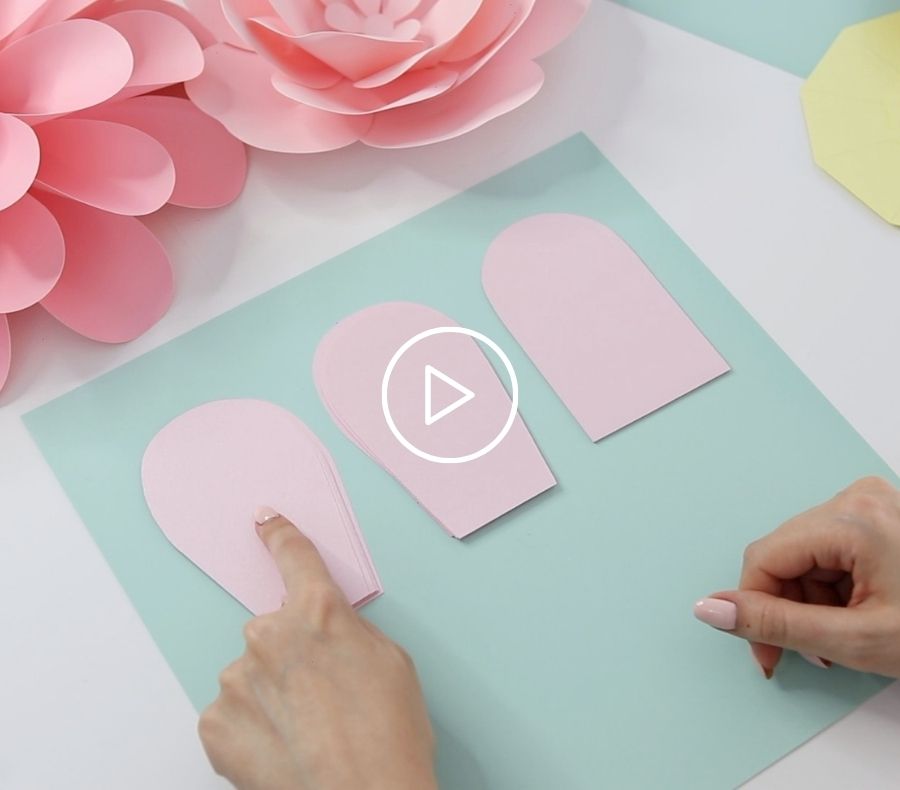
Please note that in the video I’m only talking about petals №1 and №2.
The thing is I updated the templates and added overlapping lines on the petals to make it even easier and more convenient for you.
So like this, petal #1 divided into petals #1, 2 and 3 (they are exactly the same in size and shape, and differ only in the overlap), and petal #2 became №4.
I hope you don’t get confused ;-).
I specifically designed this free rose template so that anyone, even a newbie, could easily and quickly cut and assemble it.
But if you’re not confident in your abilities and want to start with something even simpler, then I recommend that you make this flower first (also including free templates). It’s very easy to make, but it’s so pretty, just perfect for beginners.
You can use any paper you like, as long as it’s not too thin (like office paper) and not too thick.
In this case, I’m using 65 LB Cover (176 gsm) cardstock and recommend that you stick to the 120-180 gsm range.
For a round (main) base, I always use thicker paper to make the flower more stable (220+ gsm).
 1")
For one rose flower we need:
 2")
I cut all my petals using a cutting machine, but if you don’t have one, you can easily cut these simple shapes by hand, just use the PDF files for printing.
*Update
The updated version of the templates already has overlap lines on all petals for your convenience
I prepare the first 5 petals by slightly overlapping them by about 1/4 inch .
 3")
Then I glue the first row of petals. There’s a pentagon that I marked with a dashed line inside the circle base, so use it as a guide.
 4")
The next 5 petals (№2) we need to overlap more (use the corner as a guide for the overlap).
Then I glue the small pentagon base right to the center. There is already a central mark on the circle base, but I additionally draw a small dot there with a pen so that it’s more visible to me.
And then I glue the second row of petals, using this small pentagon as a guide.
 5")
You might think that I bother too much with all these layouts, lines, and sizes, and everything can be done much easier and faster by eye. But this is my approach.
If all the cuts and gluings are done just by eye, then the flowers will always be slightly different from each other. But I like even, uniform and symmetrical flowers.
I design all my templates specifically in such a way that I can be sure that the result will always be the same. I hope this makes sense ;-).
Ok, let’s move on!
The third row already consists of four petals, not five, as in the previous rows.
Overlap them even more, and using the square mark in the center of the pentagon as a guide, glue on all four petals.
 6")
Remember, when gluing the first petal in any row, apply a small amount of glue only to one edge so that the last petal in the row fits easily under the first one.
And the last row consists of 4 smaller petals №4.
 7")
The flower is almost ready, and it only remains to make the rose center.
For the center, I need 3 center pieces – 1 small and 2 large.
And before I start to put them together, I need to curl the petals first. This will help to fold up the center more easily and nicely.
For curling the petals, you can use a glue stick, a bone folder or a regular marker, but for me always the most convenient way is to curl them using the edge of my table. This is a matter of personal preference and habit, so please do it the way you like.
 8")
I start by forming a cone from the first petal, and fix it with glue.
Then I take the opposite petal, and by hugging this cone, I make a “base” for our center.
Try to make this base straight and not skewed to either side.
 9")
Then I glue the remaining two petals.
 10")
The next row of center petals I prefer to glue in a circle rather than two opposite each other. Thus, I glue the 1st petal with only one side so that the last 4th petal in this row can be glued under it.
Depending on the order of gluing the petals, the bud will look slightly different. I like it this way, but you can experiment and see how you like it better.
 11")
The last row of the central petals I also glue in a circle, but open the petals even more.
Try to be careful and use a small amount of glue here because you can easily get burned.
 12")
Great! It remains only to glue the center to the flower!
Try to find the perfect position and glue the bud to the center of the rose flower very well.
 13")
Also, If you want you can curl the edges of the petals with a glue stick or a pen, but I like it as it is.
 14")
And here is the final result!
I hope you enjoyed this tutorial, and I can’t wait to see these roses from you!
Once again I leave the link to the templates here.
 15")
Share in the comments whether it was easy for you to make this flower, and what difficulties you had👇.
 16")
I’m Oksana and I love paper flowers and all things paper. Here at FancyBloom I design new flower templates, make paper flower tutorials, and share my ideas and inspiration for fancy and modern craft.
Don’t worry! I hate spam as much as you do!
14 Responses
Sorry, I meant how do I get the paper roses template.
Thanks
I do I get the Rose template
I love the tutorial and can’t wait to use it, but when i try to submit for the template (I’ve tried different emails and devices) it says there’s an error. Is there any other way I can access the template? Thanks a bunch!!
Just as an FYI: for the SVG files, it looks like Cricut will automatically resize the images if the whole artboard (background of the document) is anything larger than 11.5 inches. So, in the future, if you limit the artboard size to something like 11 inches in height & width, the images import correctly into Cricut Design Space. I resized the backgrounds of the SVG files in my Adobe Illustrator (basically trimming away the extra transparent background area) and the files imported perfectly into Cricut Design Space.
Thank you so much for this info!
Hello. May I request for a template also on the leaves?
Thank you for your sharing this informative and lovable flower free template. This is highly appreciated and recommended as well.
Hi Abbey! Unfortunately, some programs resize files when you upload them (especially Cricut Design Space).
In the templates folder you can find a file called “Rose flower (original sizes)” where I wrote all the exact dimensions in case of distortion by your program, so you can manually adjust the sizes.
If you prefer to print templates for manual cutting, then the printer can distort the sizes too. For this case, in the folder with PDF templates there is a file “How to print PDF files – Read me!”, which contains instructions on how to properly set the printer settings. I hope this helps!
How many sheets of paper per flower
Hi Irma! It depends on how many petals you try to fit on one sheet of paper. It takes me 10 sheets 8.5″x11″ to make one rose flower.
Can not get into inches instead of mm.
mine come out all one size, Very frustrating .
¡Muchas gracias Daniela🌸!
I love your template. I lot easier to follow than others.
I would like to make the rose flower about 6 inches wide instead of 11 inches.
I have a scan n cut and can reduce petals easily but what about the 4 leaf clove shaped ones and center base.
Any help would be great.
Hi Sharon, thank you so much your kind words!💖
If you want to make the flower bigger or smaller, then you need to resize all the parts proportionally. The Brother CanvasWorkspace has a “resize by scale” option, so just resize all parts of the flower equally (keep the aspect ratio). Hope this helps. If you have any questions you can always email me at [email protected], I’ll be glad to help!
Hi Brenda! You don’t need to have 12×12 paper at all! All my templates for petals and other parts of a flower always fit on a standard sheet of paper (8.5×11). However, some programs change the size of original files for reasons unknown to me (especially Cricut Design Space). In this case, in the folder with templates there is a file called “Rose flower (original sizes)”, where I wrote all the exact dimensions in case of distortion by your program, so that you can manually adjust them. If you will need any further help, please email me at [email protected], I will be glad to help!