


This site contains affiliate links, view the disclosure for more information
Among all the other things that simply took up storage space and were not used for a very long time, I had one old Christmas tree that just sat and gathered dust in my closet. But this year I decided to give it a full makeover to my liking to use it again.
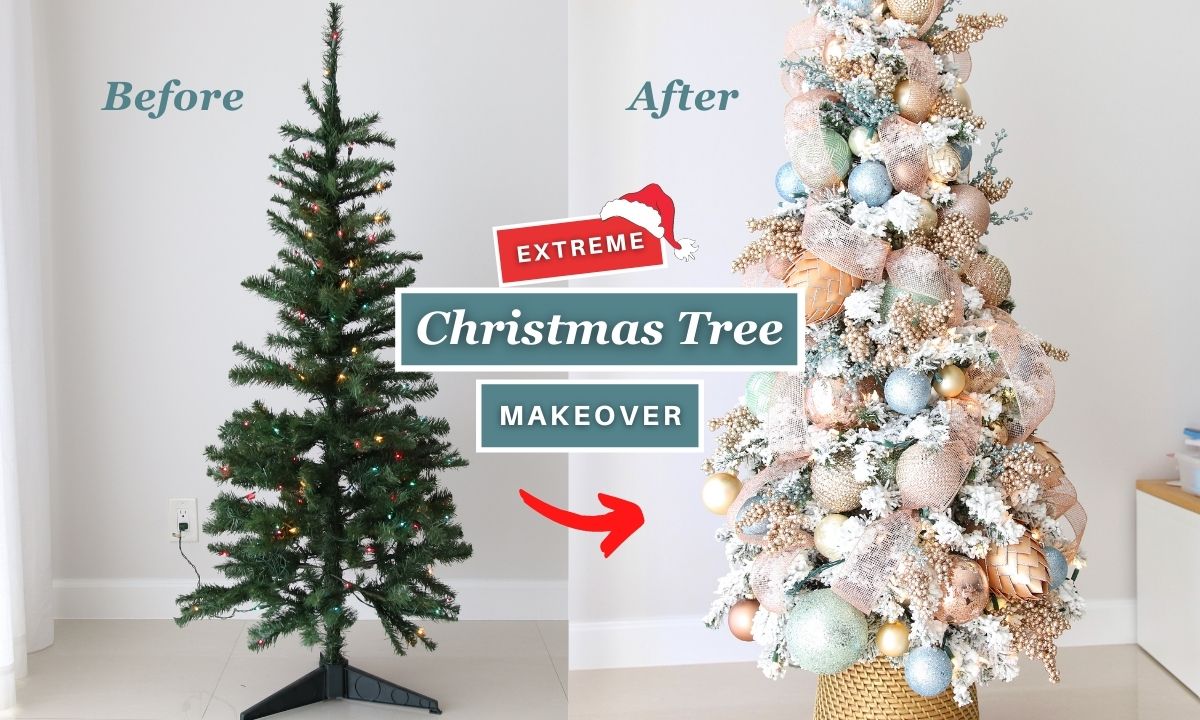
So I completely transformed this cheap tree into a glamorous and designer-inspired one. And I want to share with you the whole process – from how I flocked it and replaced all the light bulbs, to how I decorated it, with all the details!
This is how my tree looked “before”, when I just took it out of the box.

This is a 5 feet tall pre-lit tree with 150 multicolored lights which I bought in Walmart many years ago. As you can see, this is not the best quality tree, not to say the least.
The first thing I did was get rid of the multicolored lights, which were very dim and kind of weird colors. I decided to replace them with warm white lights to get a more classic and calm look.
You need to pull straight two pins and push them through the original base. Then bend the pins upward along the sides, and plug it back in place.

Before buying your bulbs, be sure to find a tag on a lighting strand with the required information about amps and voltage to order the correct bulbs. It’s very important.
It took me about 2 hours to replace 150 bulbs. So if you have a larger tree with a lot of lights, please think twice if it’s really worth your time doing it.

The next big step was flocking the Christmas tree.
I really wanted a fluffy and heavily flocked tree like from a store, so I used a special flocking powder.

Sources: 1. Snow Flock powder (5 lbs) 2. Flock In A Box powder (5 lbs)
Since I wanted to share with you the whole process and all the details from start to finish, I thought it would make sense to make a separate blog post dedicated only to flocking a Christmas tree👇.
In a separate blog post, I shared the entire process of how I flocked my Christmas tree step-by-step using flocking powder.

The next thing I did was make a stand for my tree.
I like when the original tree stands are covered with modern Christmas tree collars, and I personally like them more than Christmas tree skirts.

I think that with a collar, the tree gets a more finished, and kind of polished and modern look. So, I wanted to make something similar for my tree, and also I wanted to elevate it just a bit so it gets a little taller.
I had this very old Ikea plant pot that I hadn’t used in a very long time and I thought it would be perfect as a tree stand.

But I wanted it to look more like a collar, and not like a regular planter, so I turned it upside down (so that the narrow part was on top and the wider part was on the bottom).
Then I cut out the bottom, and carefully glued all the sticking ends with hot glue.

After that, I spray painted it with gold color. And also covered the handle spots with a gold cardstock from the inside.

The tree itself I installed in a smaller pot using pieces of cardboard and hot glue.

But keep in mind that if your tree is heavy, or you plan on using a lot of decor, then you need to use a bigger and heavier pot.
You need to make sure that you anchor the tree very well and that it’s very stable.

And this is how it looked when I finally installed the Christmas tree with a stand.
I think this pot was the perfect size for my tree, so I really liked how they looked together.
The next step was to add more lights, because I wanted to add some twinkling for my tree.
But surprisingly I found out that it’s actually quite difficult to find soft twinkle lights, and not flashing and crazy blinking ones, that can cause a headache or panic attack. Well, at least for me.
I’ve searched all over the internet and found only one truly soft twinkling lights: these lights are called SoftTwinkle.
Additionally, I’m including another set of lights I discovered last year. They have many more lights on one string (than SoftTwinkle) and offer a setting with a beautiful, acceptable twinkle.
If you want to see how these lights twinkle, you can check out this video👇 at the 9:28 timestamp.

SoftTwinkle is not cheap because it costs about $34 per string and there are only 50 or 70 bulbs in the string.
For my small 5 ft tree I bought 2 of them, but if you have a bigger tree you will obviously need a lot more. So this product is definitely not on a budget side, but I personally think that it’s worth it, because the twinkling is random, very soft and just beautiful!
But keep in mind that these lights are hard to get even online, because they are always sold out for some reason. So if you want them, keep an eye on the availability and buy it in advance.
I also found twinkling fairy lights on Amazon.
If you’re unfamiliar, fairy lights are tiny LED bulbs on a thin, flexible metal wire, so they can’t fully replace a regular garland, but they work great as a finishing touch on top of an already decorated tree.
These lights also twinkle very softly, which I really appreciate.
This year I wanted to use very natural colors.
So I picked up all the champagne shades, a little bit of copper, iced blue and frosted green. All of these colors can be found in nature, and for me they are associated with a snow-covered frosted winter tree.


I started by decorating the top of the tree with a snowflake from the At Home store.
I had to cut off the entire bottom part of the topper because it was absolutely unusable for me. And then I just attached it with wire to the height I needed.

Then I did my only ribbon.
This time I didn’t want to use any bright colored ribbons, so I picked up the rose gold glittered mesh ribbon just for adding volume and a beautiful shimmer.


Usually, I use tree branches to attach a ribbon, but because my tree has very few branches, and every branch I carefully shaped counts, I had to use wire.
But in general, if you have a good quality tree, then it’s much more convenient to secure the ribbon with tree branches.
Ready to take your Christmas tree from “meh” to “magnificent”?
Watch my step-by-step guide and learn the best techniques for placing ribbon on your tree.

Warning: your tree might get so fabulous, it could start demanding a red carpet!

And this is how pretty it looks when I only made one roll! Agree, it adds a very beautiful shimmer to the tree.
After the ribbon, I did the picks.
And these berry picks I found in a Dollar store!

I was looking for twigs with a lot of berries, and I wanted the berries to be exactly champagne color, not gold. But I could not find them anywhere.
And what was my surprise when I found these champagne colored berry twigs in the Dollar store! True, I had to go around several Dollar stores to find enough of them lol, because I wanted lots of berries on my tree.

Before placing them on a tree I had to remove all the green leaves, because they were kind of ugly.
And obviously these picks are cheaply made and sort of flimsy. But in general, the berries look very pretty, and there are many of them on one branch. So I think the $1 price tag is a great deal.

I also used blue and rose gold picks (Hobby Lobby), mixed them with berries and placed them throughout the tree as clusters.

The highlight of my decor was the giant pinecones that I made myself.
I have a separate blog post and video on how to make them, so be sure to check it out. They are very easy to make, but they look just amazing on the Christmas tree!

I started with the largest and ordinary balls. And I place them very deep inside close to the trunk. This way I cover all the largest gaps and create sort of a 3D look.
I know that all professional decorators use this technique – to place the ornaments at different depths, not just on the surface of the tree. Because like this the tree will look more dimensional, and it will be much more interesting to look at it.

After I covered all the gaps and placed the plain balls deep inside, I found the best places for my pine cones, and then I already placed all the remaining ornaments I had.

And this is the finished look of the tree that I got!
At the end, I also added fairy lights from Amazon I mentioned above. They were also very helpful to light up my snowflake, because there was no lighting on it. And of course, they added even more magical sparkle that was the final touch.

Let me know in the comments how big is your tree and what color scheme have you chosen for your tree this year? I am super interested to know!
🎄Happy holidays and Merry Christmas! xoxo

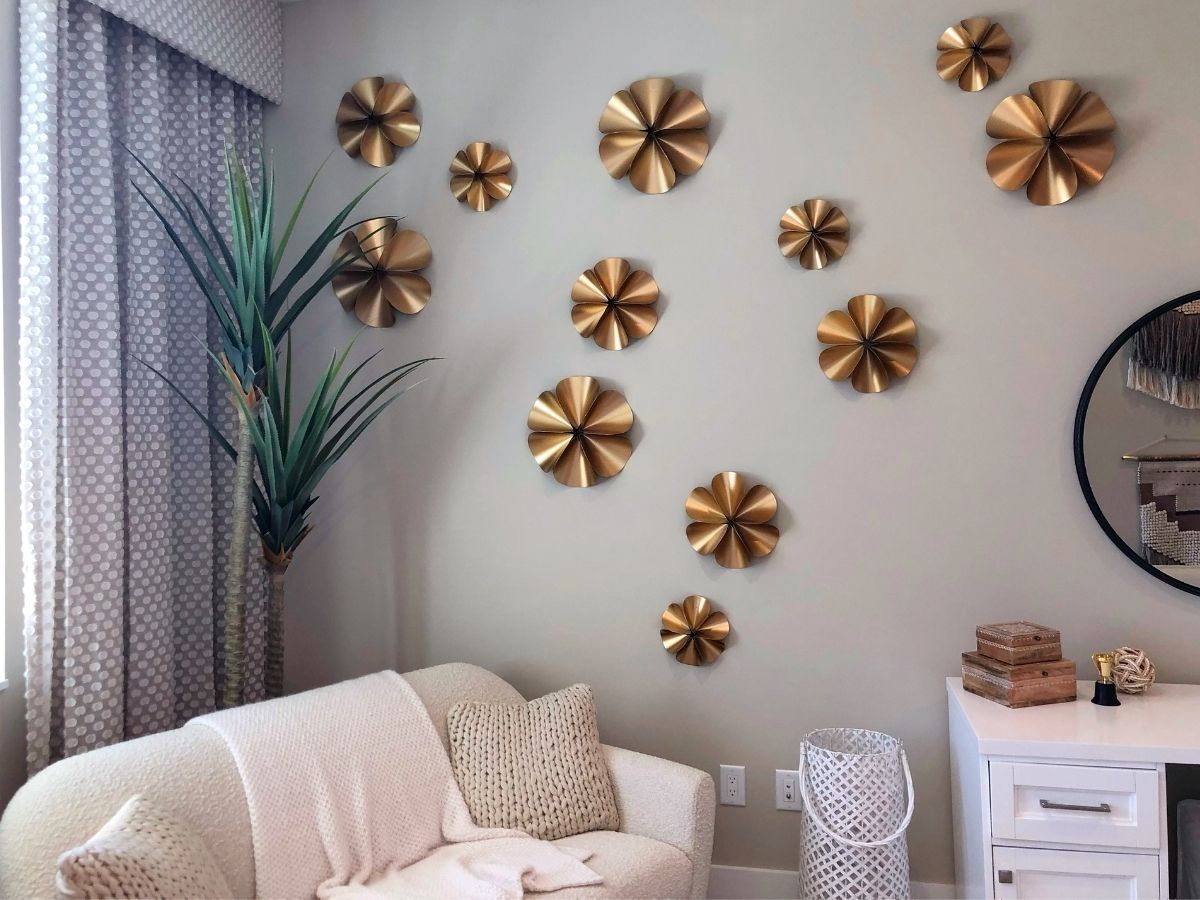
I’m Oksana and I love paper flowers and all things paper. Here at FancyBloom I design new flower templates, make paper flower tutorials, and share my ideas and inspiration for fancy and modern craft.


5 Responses
Thank you so much Boris!
Absolutely stunning! I love it! But I’m still not clear on how to apply and attach the ribbon… Thanks for sharing!
Hi Sandy! Thank you so much!💖 This year I plan to make a separate video dedicated solely to how to attach ribbons to the Christmas tree! Stay tuned😘!
Wow. I think I just might be able to copy this look. You’ve done a great job with your instructions. I thank you so much for sharing. Your tree is amazing!
Aww thank you so much Tina😘! So happy to inspire you in some way! It’s never too early to start preparing for next Christmas haha😅🎄