 27")

This site contains affiliate links, view the disclosure for more information
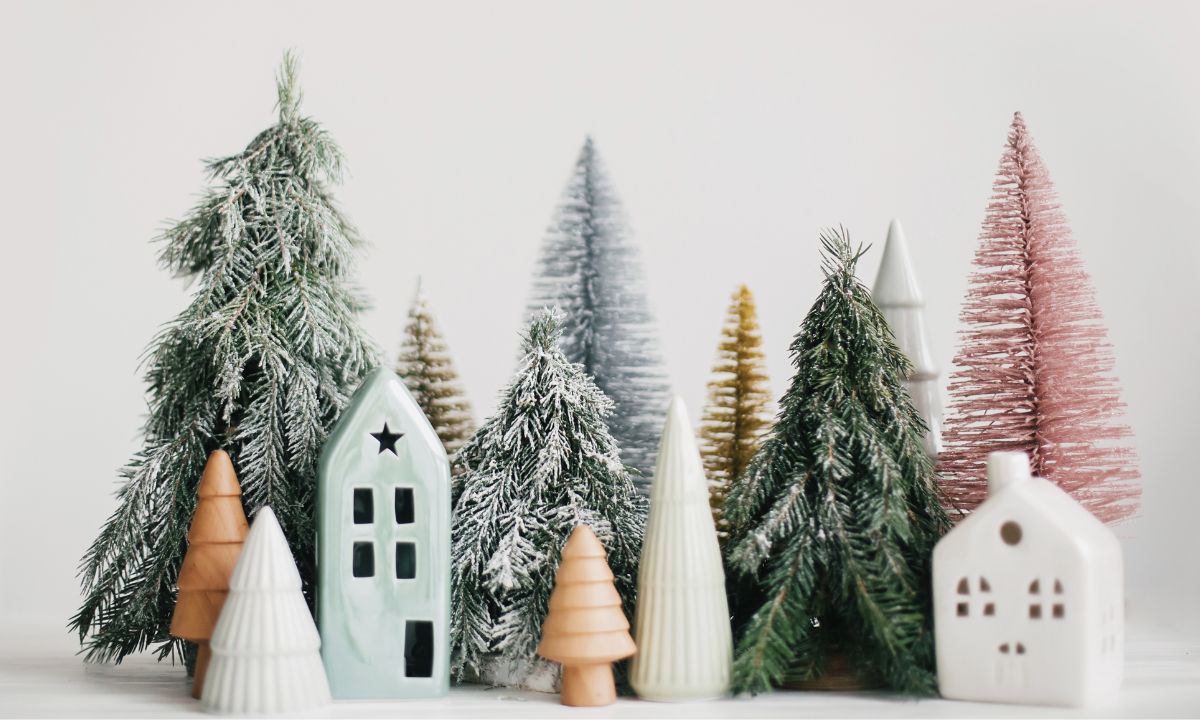
Hey there! As we gear up for the upcoming holiday season, I’m excited to show you how to make a Christmas centerpiece with greenery for your dining table, coffee table, or any other place in your home that you want to festively decorate and bring in the delicious scent of pine needles.
And trust me, it’s easier than you think! I will show you the whole process, step-by-step, and share some useful tips and tricks that I’ve already learned from the past. So let’s jump right in!
To start off, you’ll need fresh branches. I got mine from Whole Foods, where they sell them during the Christmas season under the name ‘Evergreen Bouquet.’
These packs are great because they include various types of greenery, adding a nice mix of textures and shades of green to your arrangement, making it look more interesting and lush.
 1")
If you’re lucky and can gather greens from a nearby forest or even your backyard, that would be awesome! Though that’s not an option for everyone. I certainly can’t because I live in Florida :).
Another option is to check your local flower shops or Christmas tree markets. Sometimes they sell fresh greens that they use for their arrangements and bouquets.
But if you still can’t find any, head to a Christmas tree lot – they usually have clippings you can grab for free. They might not be the best type of branches for arrangements, but they’ll still work!
 2")
Look, I had three different types of greens in my bouquets.
One of them was the noble fir branches. And it’s exactly this type of greenery that florists mainly use for Christmas arrangements.
 3")
The noble fir is very soft and fluffy, plus it stays fresh for a really long time and doesn’t ooze any sticky resin when you’re working with it.
To be honest, I was a bit disappointed when I found out that each bouquet only had a single, rather small noble fir branch. I’d like these branches to make up the majority of my arrangement, but I couldn’t find them being sold separately anywhere.
 4")
In the coming year, I’ll consider planning ahead and possibly ordering Noble Fir branches online. And I’ll make sure to keep you posted here if I find a good source!
 5")
As for the other two types of greenery, I’m not entirely sure about their names. If you happen to know, please let me know in the comments!
For convenience, I sorted all my greens by type into separate piles. And now, let’s move on to preparing the base and candles.
 6")
You’ll need wet floral foam, also known as Oasis
 7")
Gather your candles – either one, a few, or as many as you prefer.
It doesn’t have to be long and tapered candles; you can choose any kind you like. And if you’re concerned about safety and don’t want to use real candles, feel free to use flameless alternatives.
 8")
In my case, I opted for two ivory-colored, long tapered candles. I picked these up from Hobby Lobby. If you get them at 50% off, it’s less than a dollar each, which is quite a deal!
You will also need some kind of waterproof dish – a vase, a bowl, a tray, pretty much anything you can find.
There are also special centerpiece trays for flower arrangements. They are often sold in sets, and are very convenient when you need to make not just one or two, but many flower arrangements.
I grabbed a small glass bowl from Dollar Tree, which I think is perfect size for my arrangement as my dining table is not very large.
 9")
To give you an idea, my finished arrangement was about 20 inches (50 cm) in diameter. So if you’re aiming for a larger centerpiece, choose a bigger dish; if smaller, go for something even less than mine.
 10")
Sources: 1. Green waterproof tape 2. Pruner 3. Tailor scissors 4. 1″ Velvet ribbon 5. Taper candle holders (36 pieces) 6. Aluminum wire (12 gauge)
Floral tape is for securing the foam in the bowl. If you want extra stability, or if you’re going to be transporting your arrangement somewhere, it’s a good idea to have some on hand.
 11")
Just a heads-up, make sure you purchase waterproof floral tape. Because regular floral tape won’t stick or secure anything, so be careful, and don’t get the wrong one.
 12")
And, of course, you will need decorations that you like and want to use, such as ornaments, ribbons, and other embellishments that you like.
 13")
I first try on my bowl on the foam, and then cut off the size of the foam piece I need.
 14")
If you just had a reasonable question why my foam is a weird brown color and not green, here’s why👇.
*** The foam I use here is very old. It’s been tucked away in my closet for a good few years, and I recently stumbled upon it, deciding it’s time to put it to use. The color has transformed from green to a deep brown shade. But that’s not the biggest problem that happened.
When I put it in the water it didn’t absorb it as it should. Instead, it just floated on the surface (if you’ve dealt with Oasis before, you probably know that it typically guzzles up water and submerges within a minute).
So it appears that due to age, something within the foam’s composition had changed and is no longer working properly.
Long story short, I’ve been messing around with this foam for a while, trying to get it to absorb water. Eventually I managed to get it soaked, but the takeaway is clear – avoid using old wet foam!
Moving forward, once the Oasis is properly wet, I cut and shape it to fit snugly within my bowl, securing it tightly with floral tape.
 15")
For some visual interest, I want my candles to be slightly different heights, so I cut and make one of the candles a bit shorter.
 16")
And then we need to securely fix the candles in the foam. You can just stick them into the foam but I don’t recommend this method, because candles are too bulky and can break the foam.
You can also use special candle stakes. But if you don’t have them, I will show you a very simple and effective way to securely fix candles of any size in foam, which was taught to me by a professional florist.
 17")
Simply cut pieces of wire to the length you need, heat the ends, and carefully insert them into the candles. I recommend using at least 3 wires per candle (4-5 for bigger candles).
After several trials and errors, I found that inserting wires into the candles can make them crumble and break.
This technique might work well with large pillar candles, but for thin taper candles, it’s much easier to secure 3-4 wires around the candle base with waterproof floral tape.
Trust me, this fastening technique will keep your candles in place! Just make sure you use thick and sturdy wire (10 – 14 gauge).
 18")
Great, our base is ready! Now, let’s move on to preparing the branches.
First you need to cut off all the side branches from the main stems. It’s more convenient to do this if you hold the branch with the backside facing you.
 19")
Then you need to be sure to clean the bottom of all the branches by removing the needles. This step is really important, guys! Because if you don’t remove the needles, and stick them into the foam, they will simply break all the foam, and you will end up with a complete mess. Trust me, you don’t want this!
So please take your time and thoroughly clean all the ends of the branches from the needles.
 20")
Also try to cut the branches at an angle. This helps to insert them into the foam more easily and allows the branches to drink more water, keeping them fresh longer.
Then you want to sort all branches by size. I usually divide them into three groups: the largest and longest branches, followed by medium ones, and finally the smallest and single branches.
 21")
Please take your time with this preparation, because it will be very convenient for you to assemble your arrangement when all the branches are prepared in advance and are already conveniently divided for you into different size piles.
Alright, I’m all set, so I’m starting to put together my arrangement! For convenience, I position it on a Lazy Susan.
There is absolutely nothing complicated in this process, it’s actually very easy. Just follow the natural shape, always rotate your arrangement and check if it’s the same length on all sides and if it’s equally fluffy.
 22")
Also pay attention to the angle at which you stick the branches. Imagine that there is an invisible focal point right in the center of the base, and make sure that each branch is oriented towards this main point.
Because if you stick branches in all the different directions, you won’t get that nice and balanced shape of your arrangement.
 23")
I start building the frame of my shape with the longest branches, then gradually move on to medium-length branches, and at the very end, that is, on top of the centerpiece, I use only the shortest branches and short singles.
 24")
So like this I got this fluffy green arrangement, and agree that it’s already beautiful as it is!
If you like the simple look of just greenery then you can stop here. But I want to add some decorations. Not too much, because I want to enjoy all this natural beauty too, but just a little something to enhance the overall look.
But hey, if you want to go all out with decorations, that’s perfectly fine too! Your arrangement is your canvas, so feel free to express yourself however you like!
I didn’t buy any decor specifically for this centerpiece, so I used what I already had.
First – glittered pine cones. They are not real, and are made of material that looks like hardened hot glue. I remember I bought them at Walmart many years ago.
 25")
I have only 5 of them in total and I will try to distribute them evenly throughout the arrangement at different levels.
To attach all my decor, I use wire, but not as thick and stiff as for candles. For reference, my floral wire is 22 gauge, so it’s pretty thin and soft.
Here’s how: I wrap the wire around the base of each pine cone and then also make a loop at the end of the wire so that it hooks better inside the foam. And then I stick the wired pine cones into the foam, much like I did with the branches.
 26")
Some folks hot glue decorations, but I’m not a fan. First, I don’t want to damage my decor. So once the holidays are over I can easily pull everything out and use it again next year with the decor looking brand new.
Secondly, the very idea of gluing items onto living branches doesn’t sit quite right with me, so if I can avoid glue, I’ll gladly do so.
Alright, in addition to the pine cones, I also want to add some bubbles. And I tried to pick up different sizes and different textures.
From my set, I picked two large and two medium sized balls. Then two small ones from another set, and a bunch of tiny balls.
This mix gives me bubbles in four different sizes and textures. And this is very important for creating visual interest because if all your decorations are the same size, they won’t look balanced overall.
 28")
The balls I attach in the same way as pine cones. I just wrap wire around their caps, make an anchor loop at the end of the wire, and then insert them into the foam.
 29")
Quick tip: Choose a front side for your arrangement. I’ve chosen mine and started by placing the biggest and best-looking decorations there.
Then I work forward and arrange the rest of the balls from largest to smallest.
 30")
Also keep in mind that it always looks better when you clustering your decor.
Try to avoid polka dotted distribution, which might appear monotonous and boring. Clustering makes things pop and creates focal points that catch the eye.
 31")
With the balls in place, all that’s left is adding a festive ribbon. I use a velvet red ribbon and I think it will add such a beautiful and chic accent to my composition.
Here’s how I do it: I make a single loop, secure it with wire, and stick the wire ends into the foam. For a multi-loop bow, insert individual loops side by side.
For example, I’ve combined two loops in two spots to achieve a bow-like effect, and placed a single loop elsewhere.
 32")
I recommend this method for regular wireless ribbons. If you use wired ribbon, you can make a bow first and then attach it entirely to the arrangement.
 33")
And here’s the final arrangement that I got😍!
I opted for a round shape and a medium size for my centerpiece, because I have a small and round dining table. But if your table is larger, you can create a larger centerpiece or even make multiple arrangements.
You can make it a different shape, for example a rectangular one.
Also consider adding fresh flowers or flock your centerpiece (if you like the snowy and frosty look). To do this, I recommend using a special flocking powder.
 34")
Sources: 1. Snow Flock powder (5 lbs) 2 Flock In A Box powder (5 lbs)
And by the way, I have a blog post entirely dedicated to how to flock a Christmas tree and anything you wish (the right way). So be sure to check it out👇!
In a separate blog post, I shared the entire process of how I flocked my Christmas tree step-by-step using flocking powder.
 35")
So you get the idea – don’t limit yourself and be creative as much as you want!
It’s not about being a professional florist – anyone can make a beautiful arrangement with a little guidance and a touch of creativity.
 36")
I can’t wait to see what you come up with! So feel free to leave your thoughts and comments below.
And if you decide to try your hand at making your own centerpiece, don’t hesitate to share photos with me, I love your feedback😍!
Wishing you a joyous and festive season🎄!
I’m Oksana and I love paper flowers and all things paper. Here at FancyBloom I design new flower templates, make paper flower tutorials, and share my ideas and inspiration for fancy and modern craft.


One Response
Crafting a heartfelt Christmas centerpiece holds a special place in my holiday traditions. I love infusing my personal touch by making candles in different shapes, using candle molds. It not only adds a warm glow but also brings a sense of joy and uniqueness to my festive home decor.